Front Door Refresh with CAA and Dulux
I am so excited to announce that this spring CAA, Dulux Paints, Bouclair , The Source and I are partnering up for a Spring Home Refresh. CAA Niagara Members can enter to win over $1200 in prizing from Bouclair, Dulux, the Source, plus a virtual consultation with Marcy Mussari Interiors! Bonus chance to WIN! Download the CAA Mobile App to enter to win a $300 CAA Rewards gift card package. Click the link in bio to enter! Contest closes May 10, 2021. Must be a CAA Member to enter. Bonus entry open to CAA Niagara Members only.
Rules: Conditions apply. Visit caaniagara.ca/contestrules for full contest rules.
HERE for more information and to enter

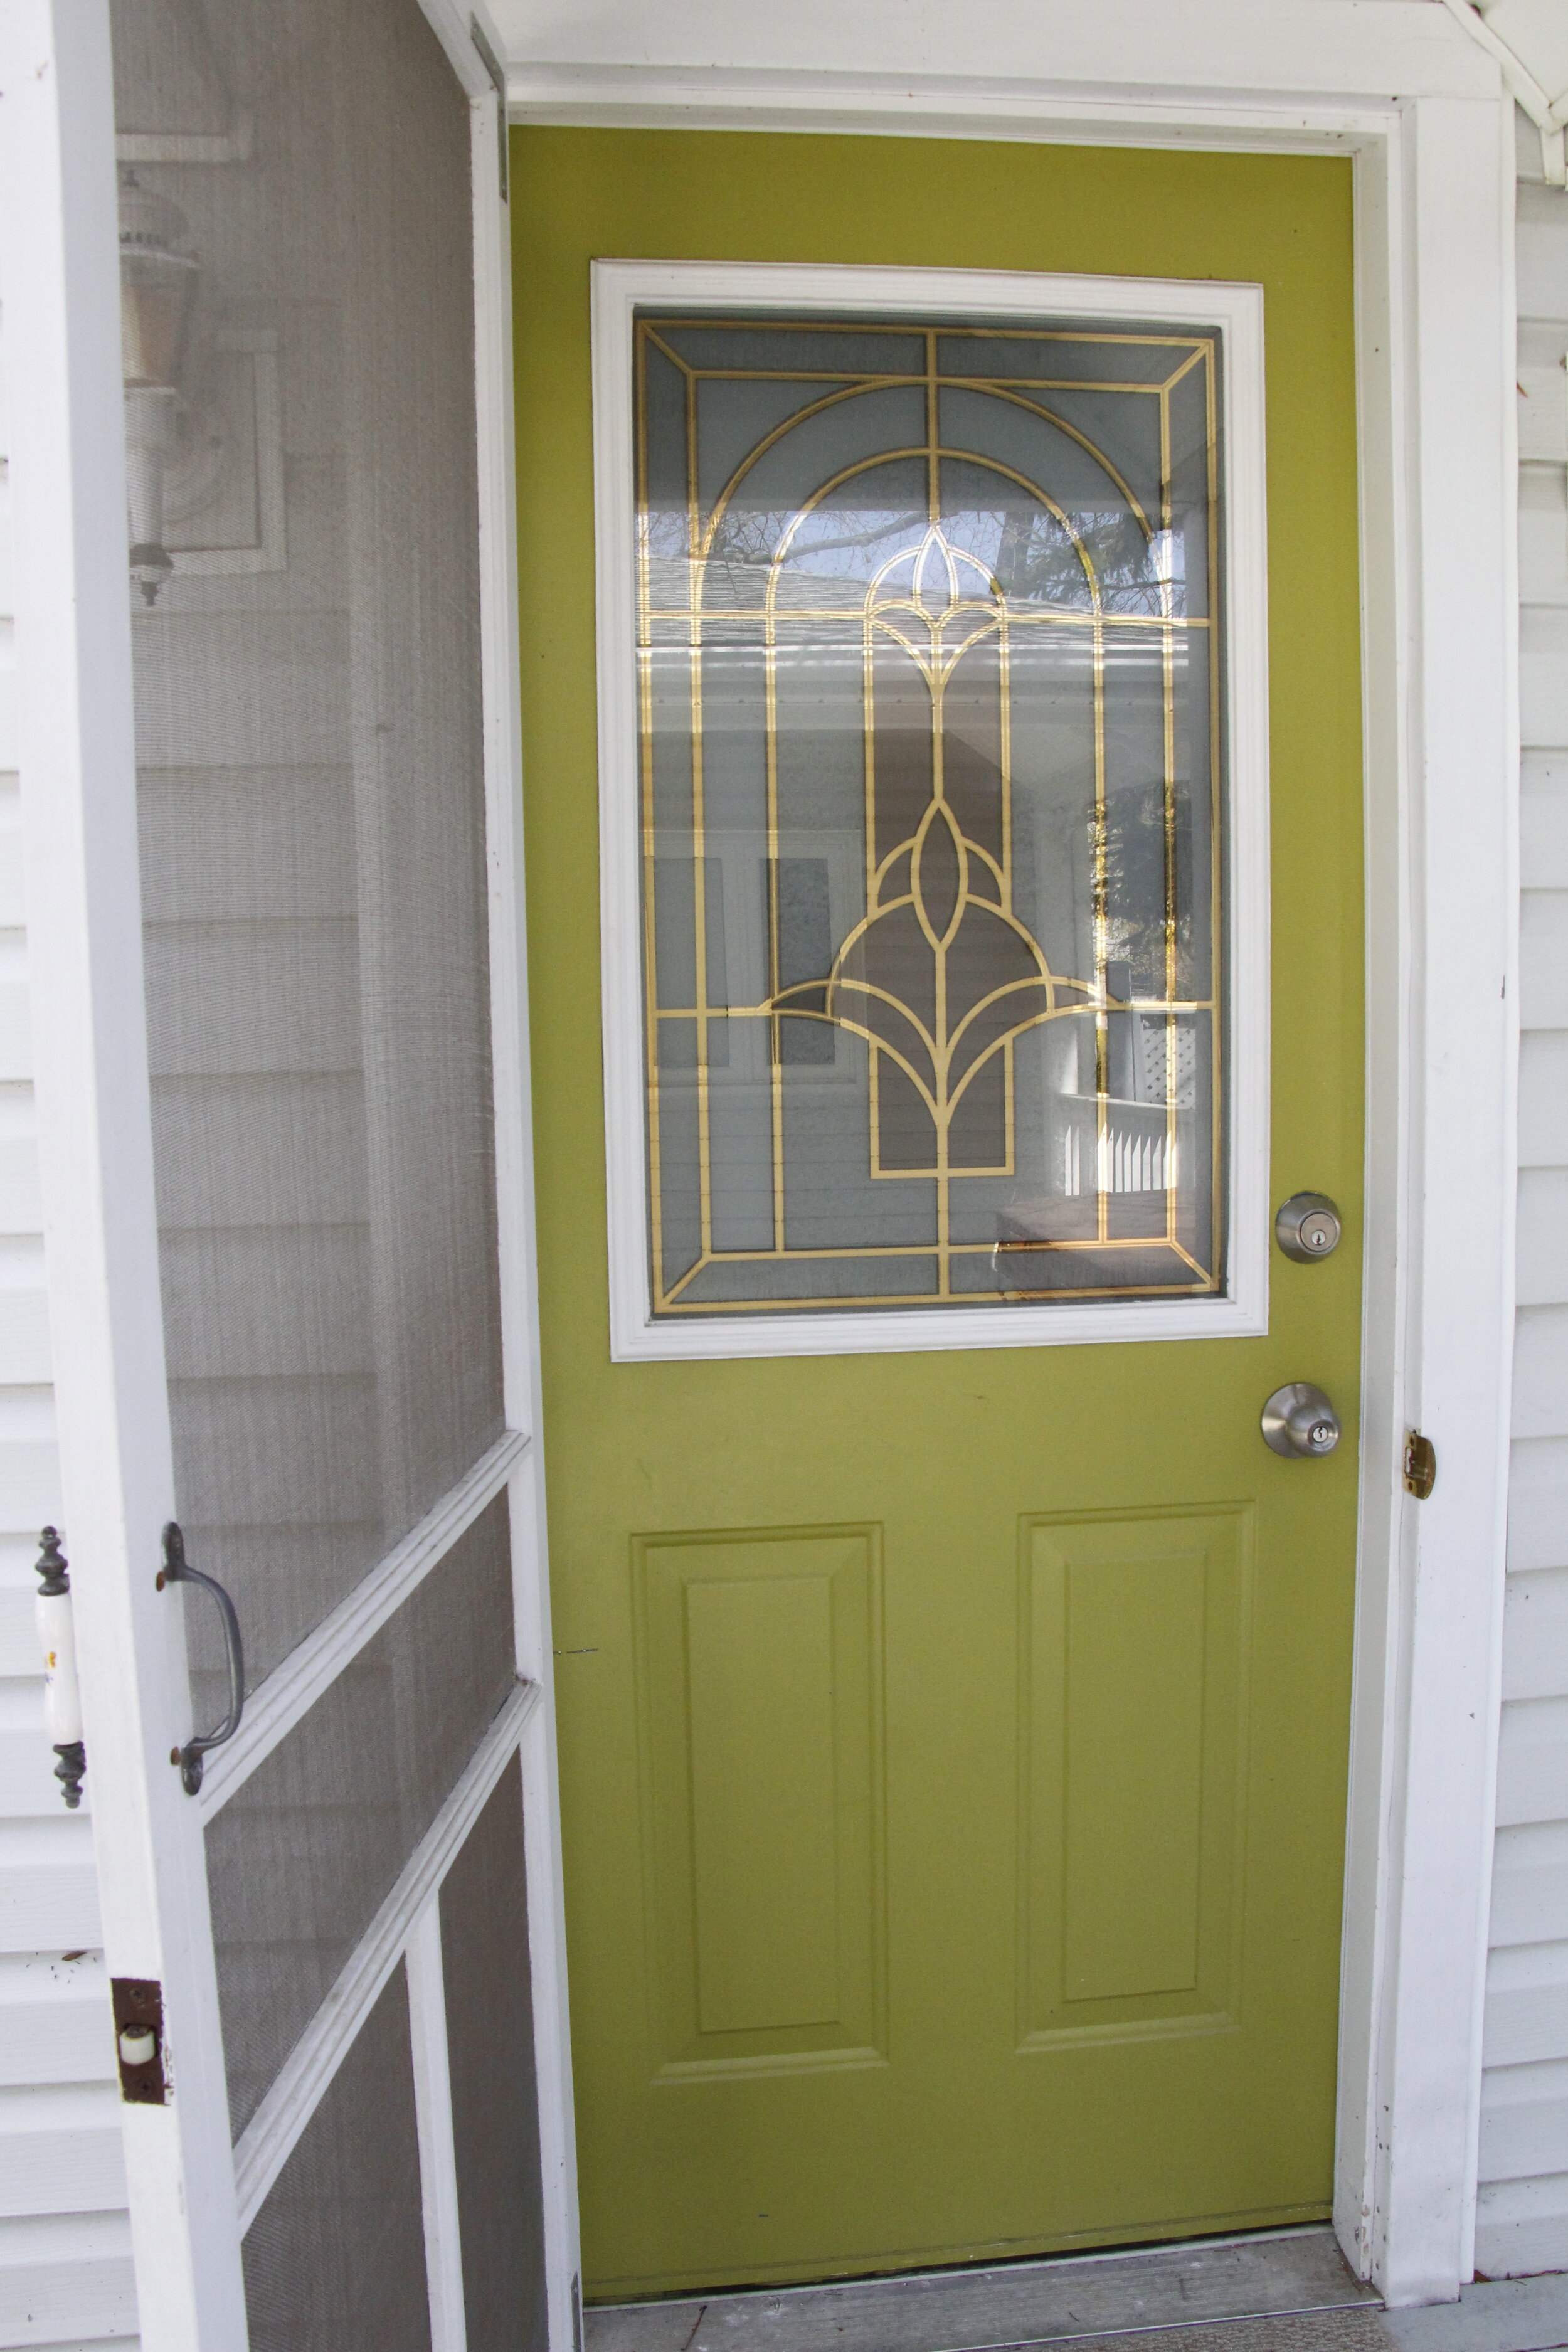
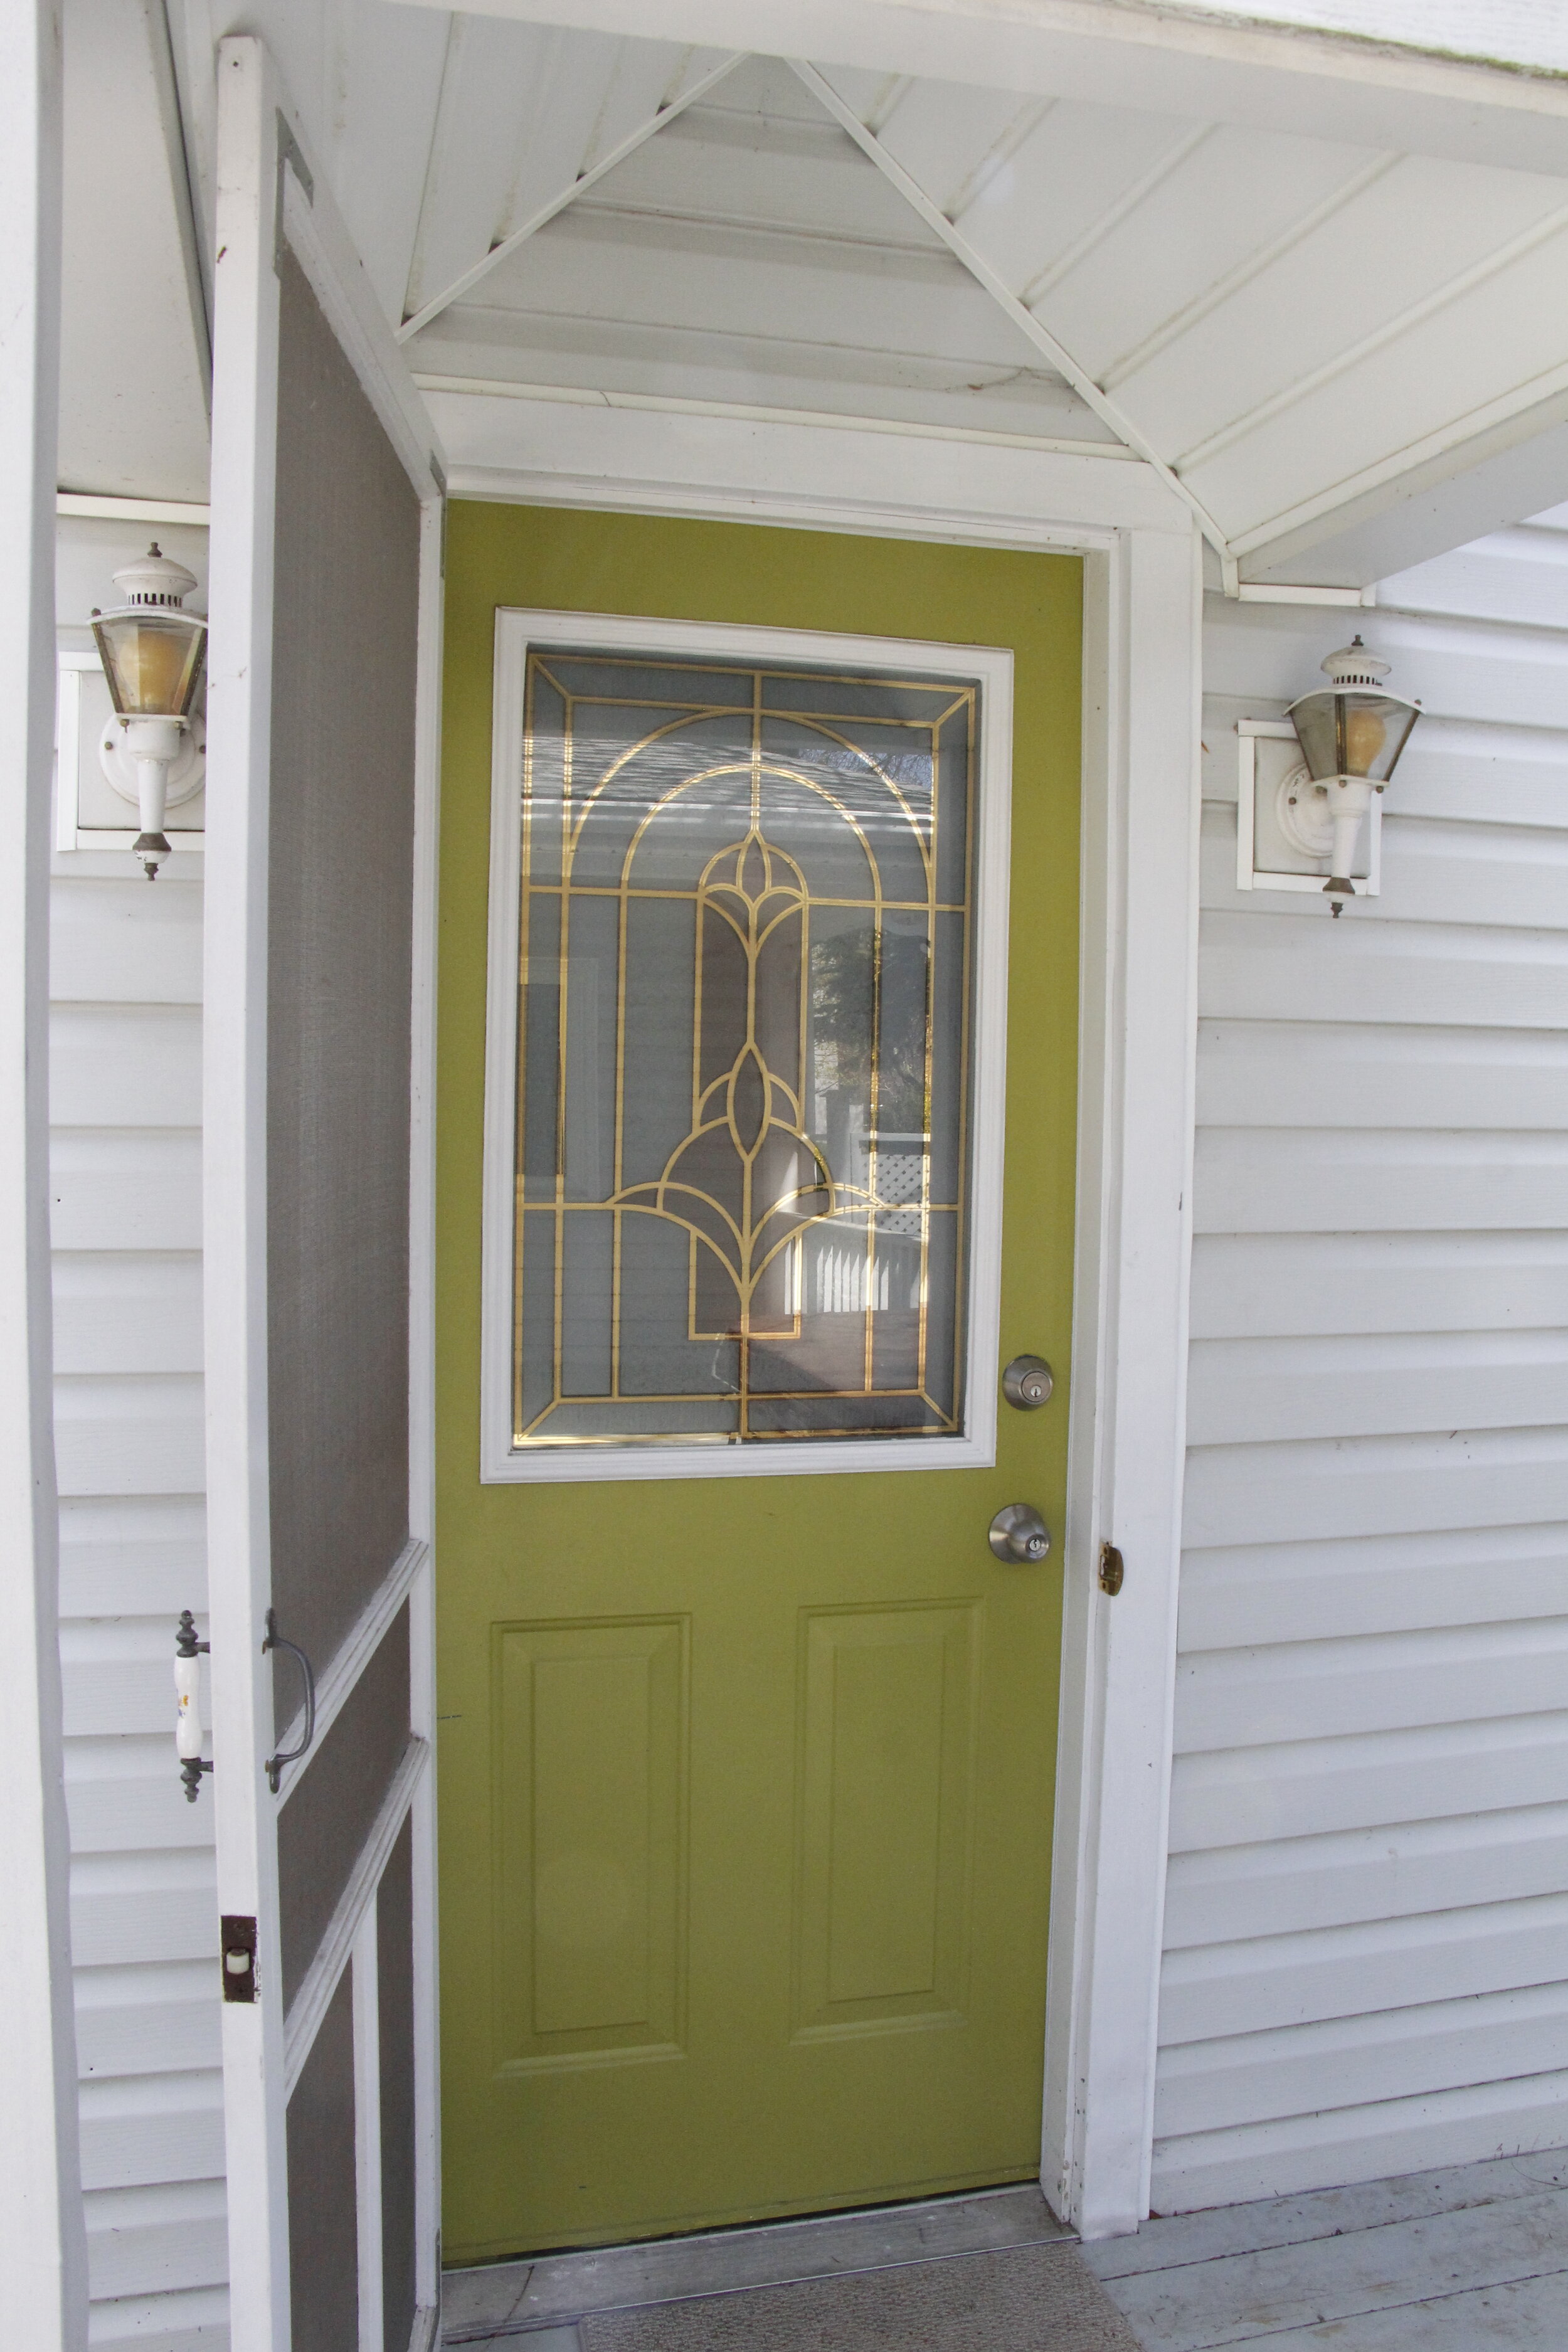
To get excited for the “Spring Home Refresh” contest I am partnering with CAA and Dulux Paints on my own project. I believe that paint can give a space, piece of furniture, or even a door a whole new look. My front door was a bright green colour and I wanted to soften things up a little bit. Learn how I chose my paint colour and read more to see the finished result !
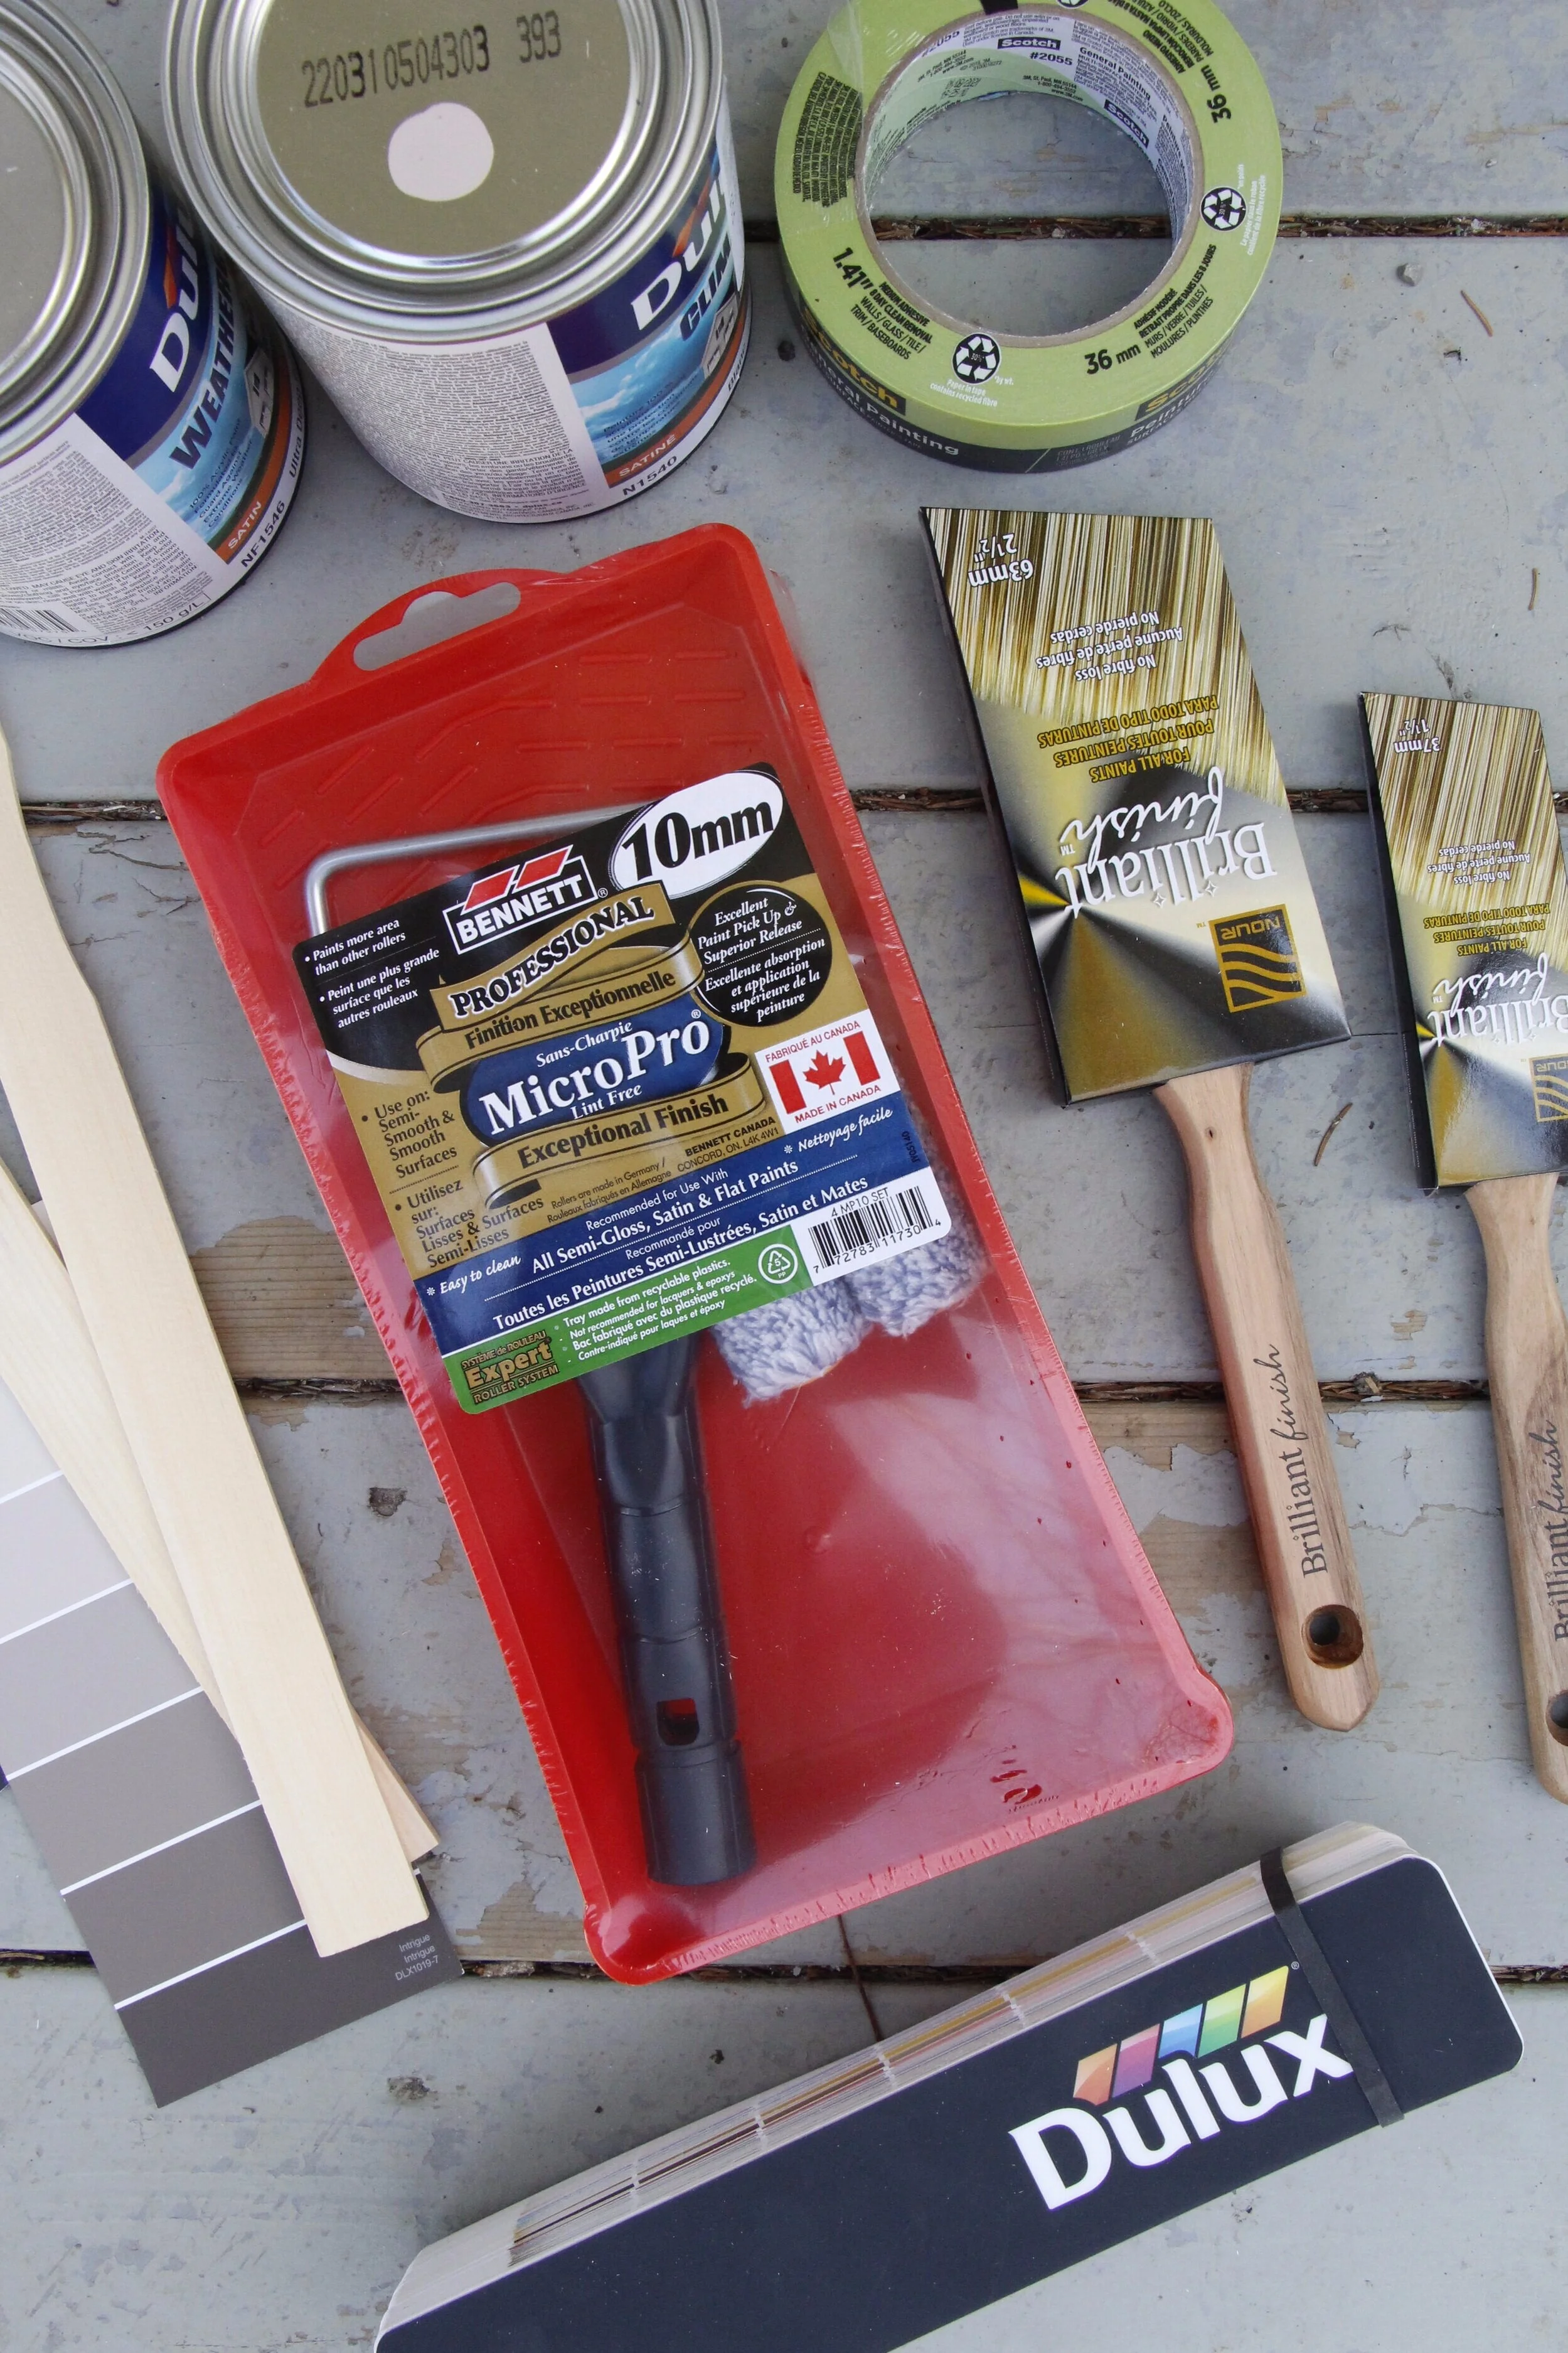
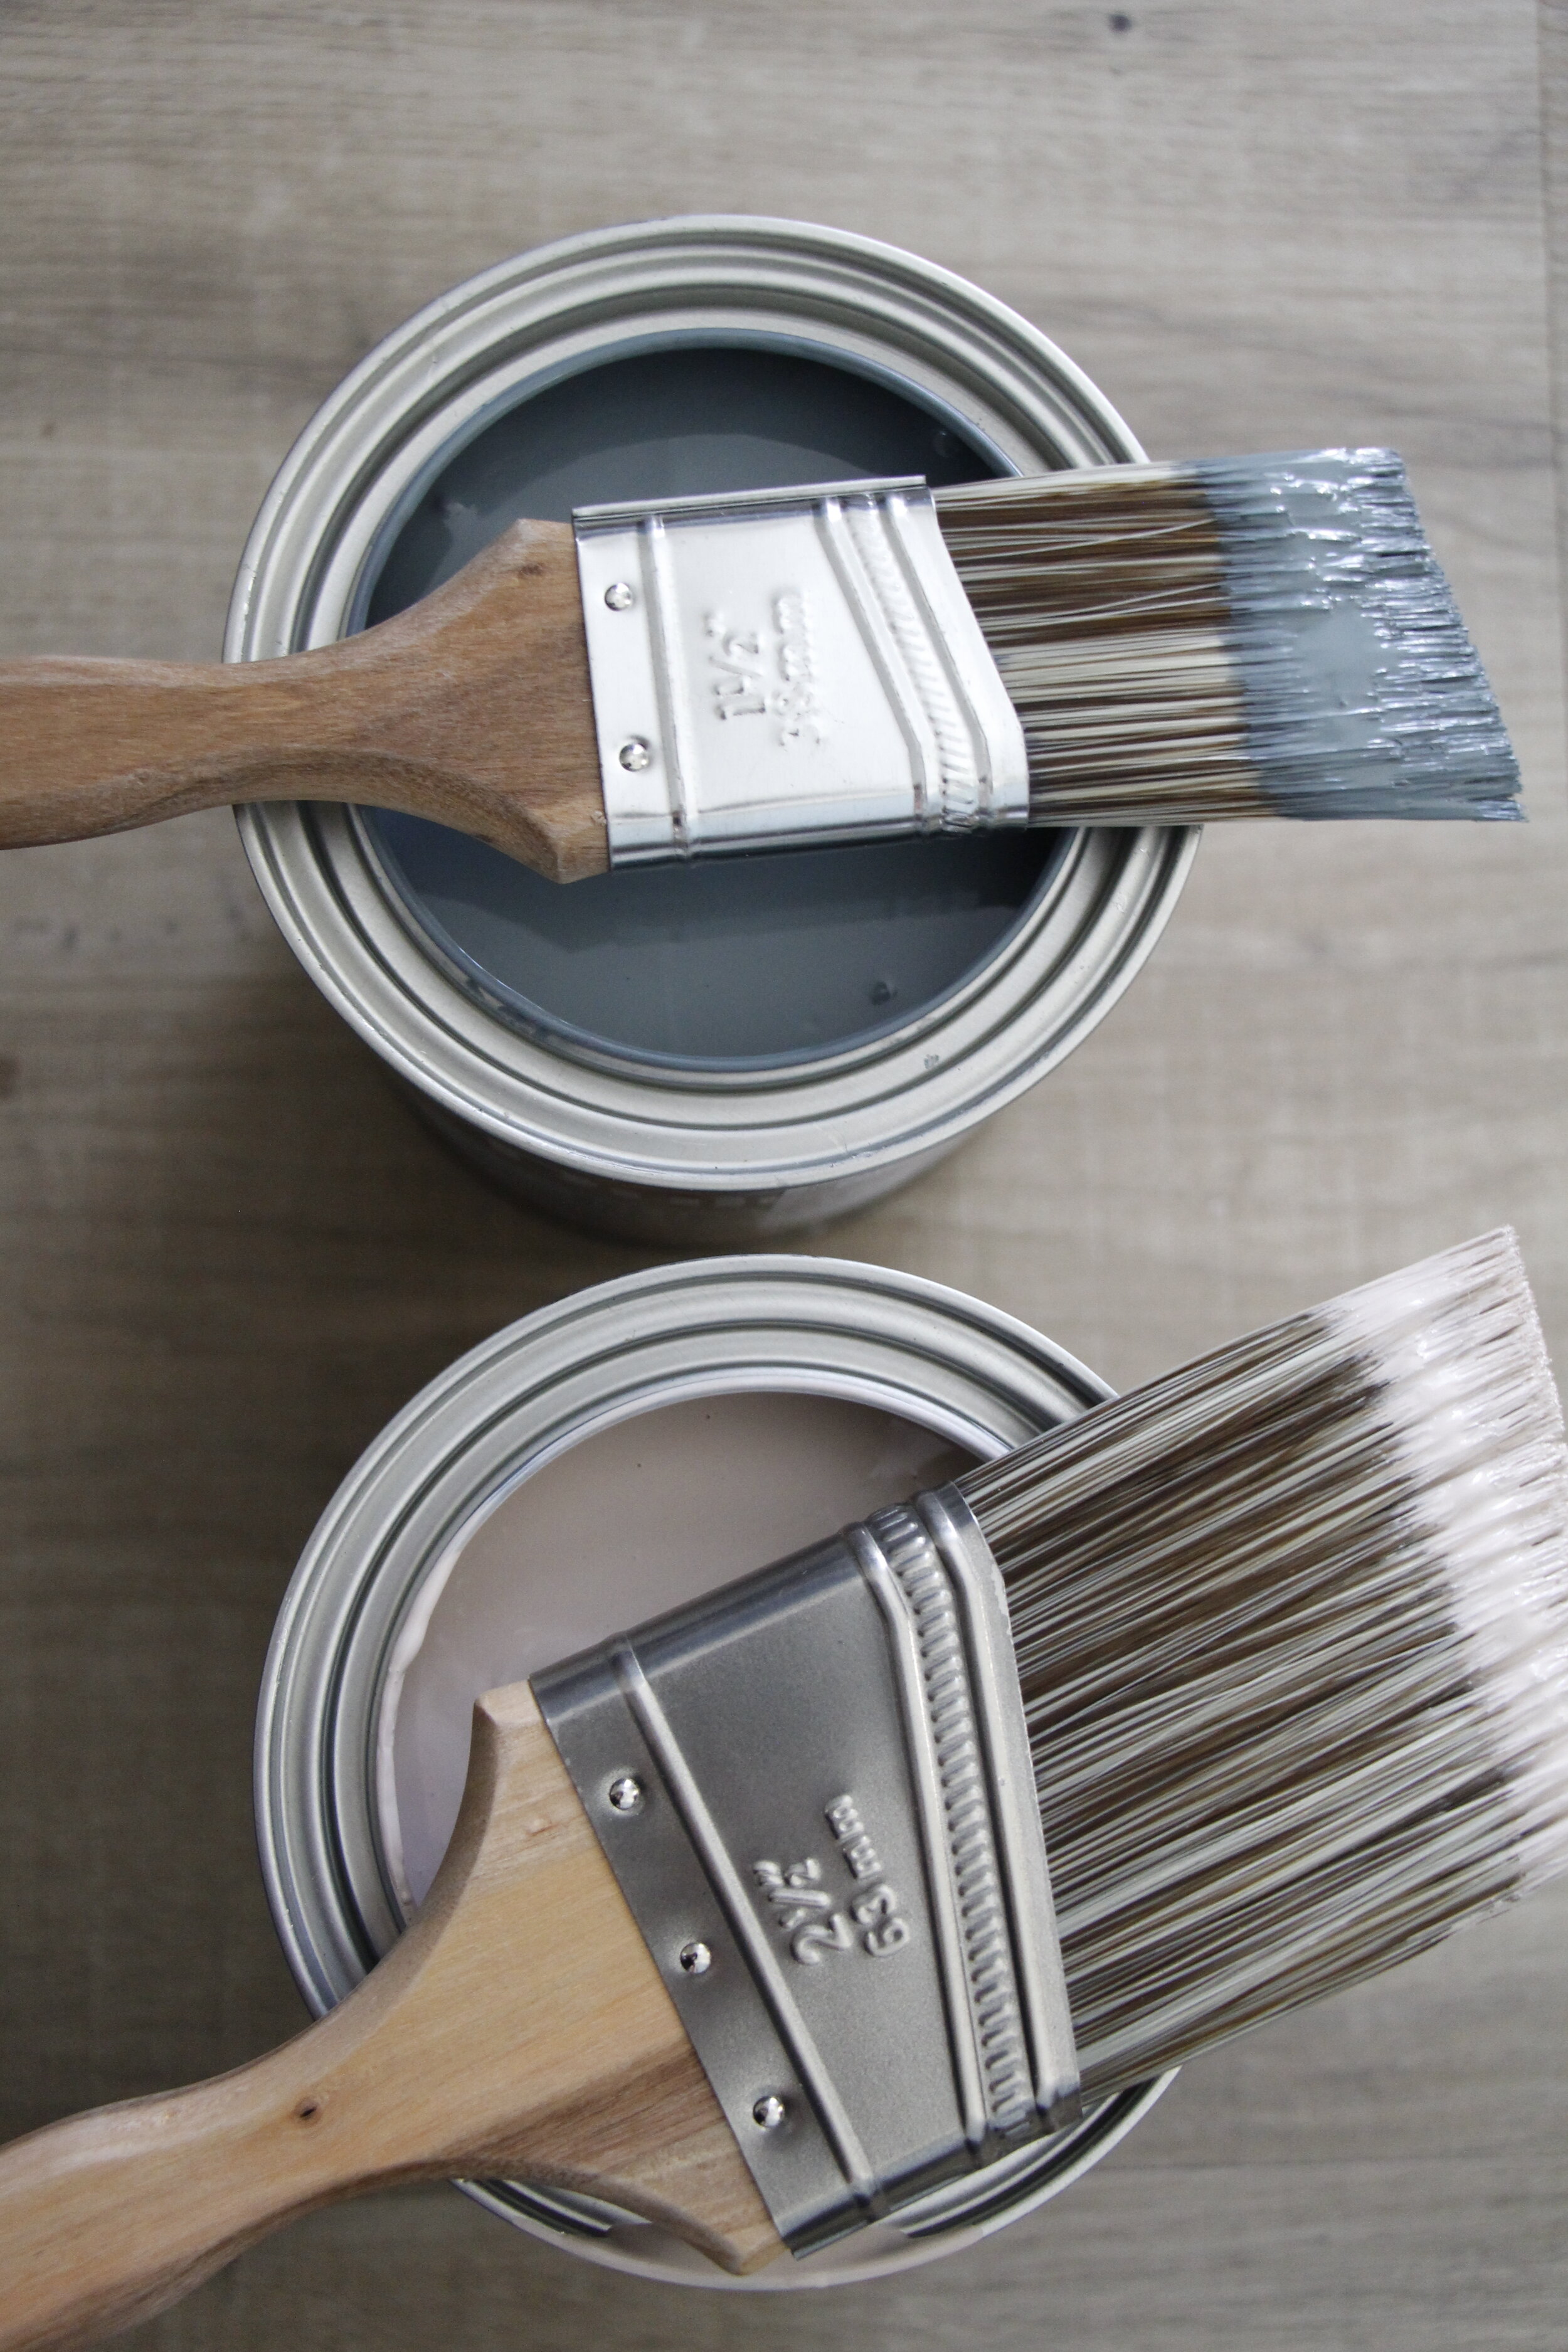
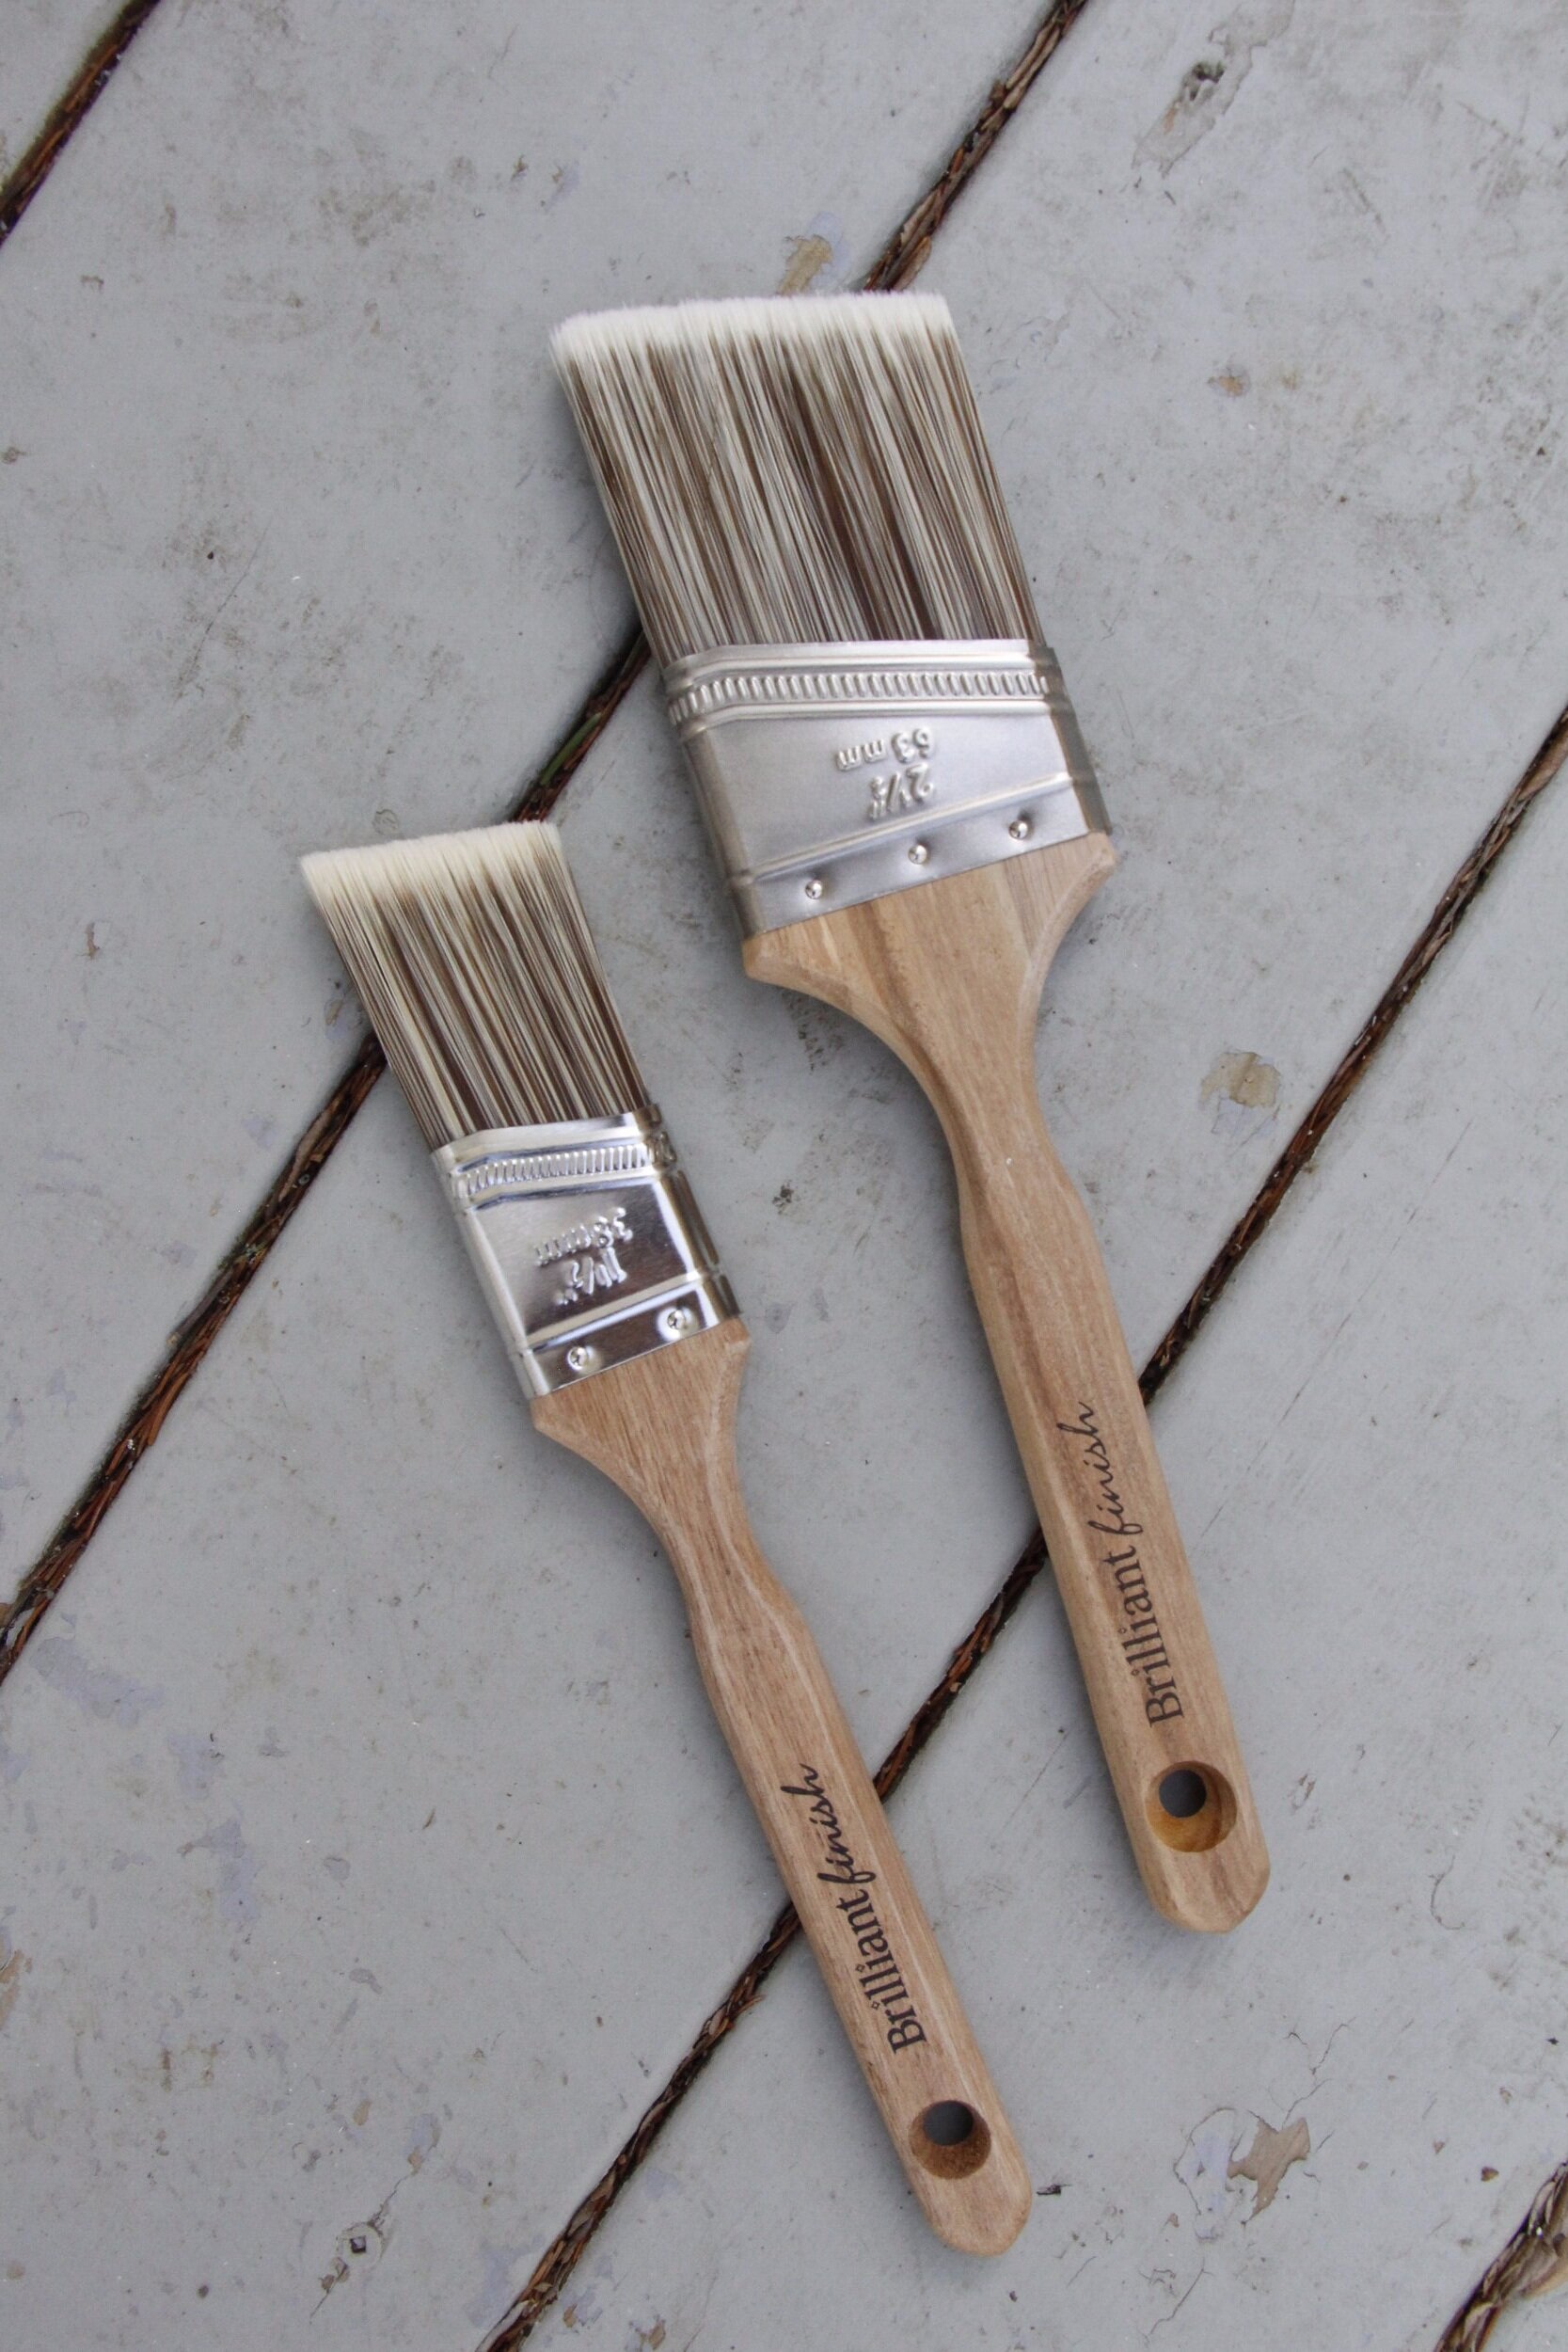
For the best result, I knew that I needed my paint, stir sticks, tape, brushes and a roller (just incase). I love all of Dulux products and all of the items they have to offer to make sure your painting process is clean and painless !
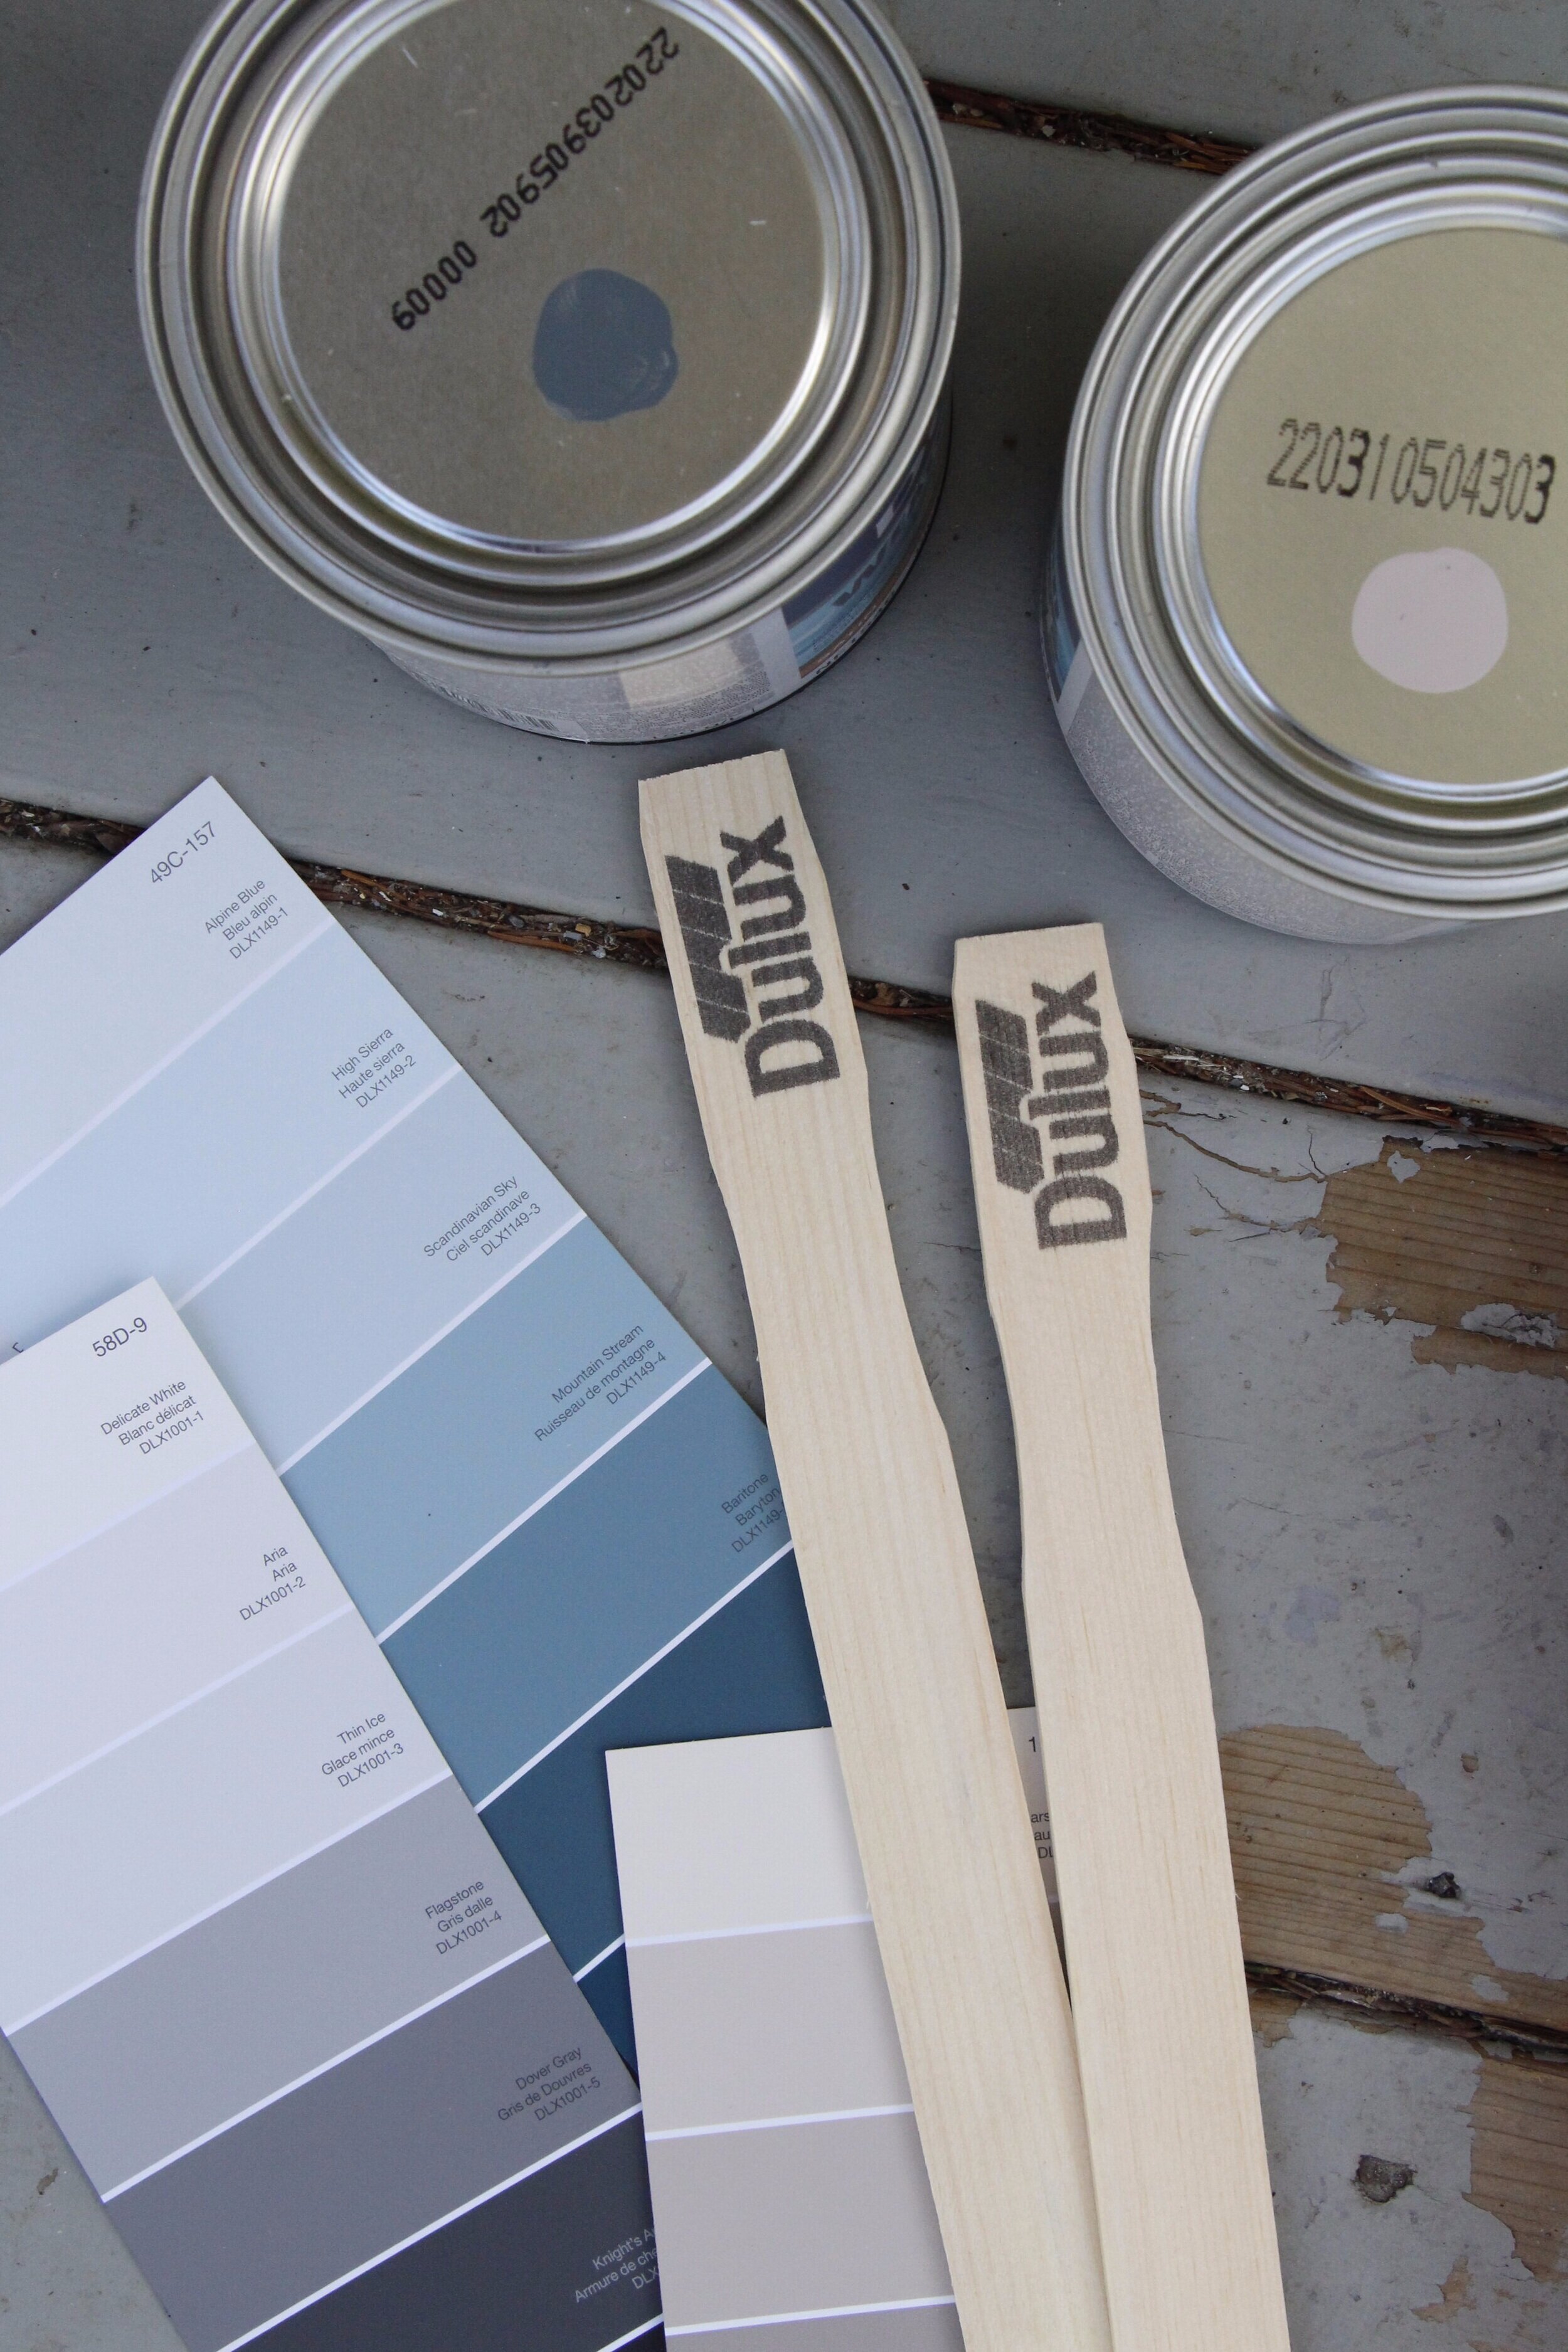
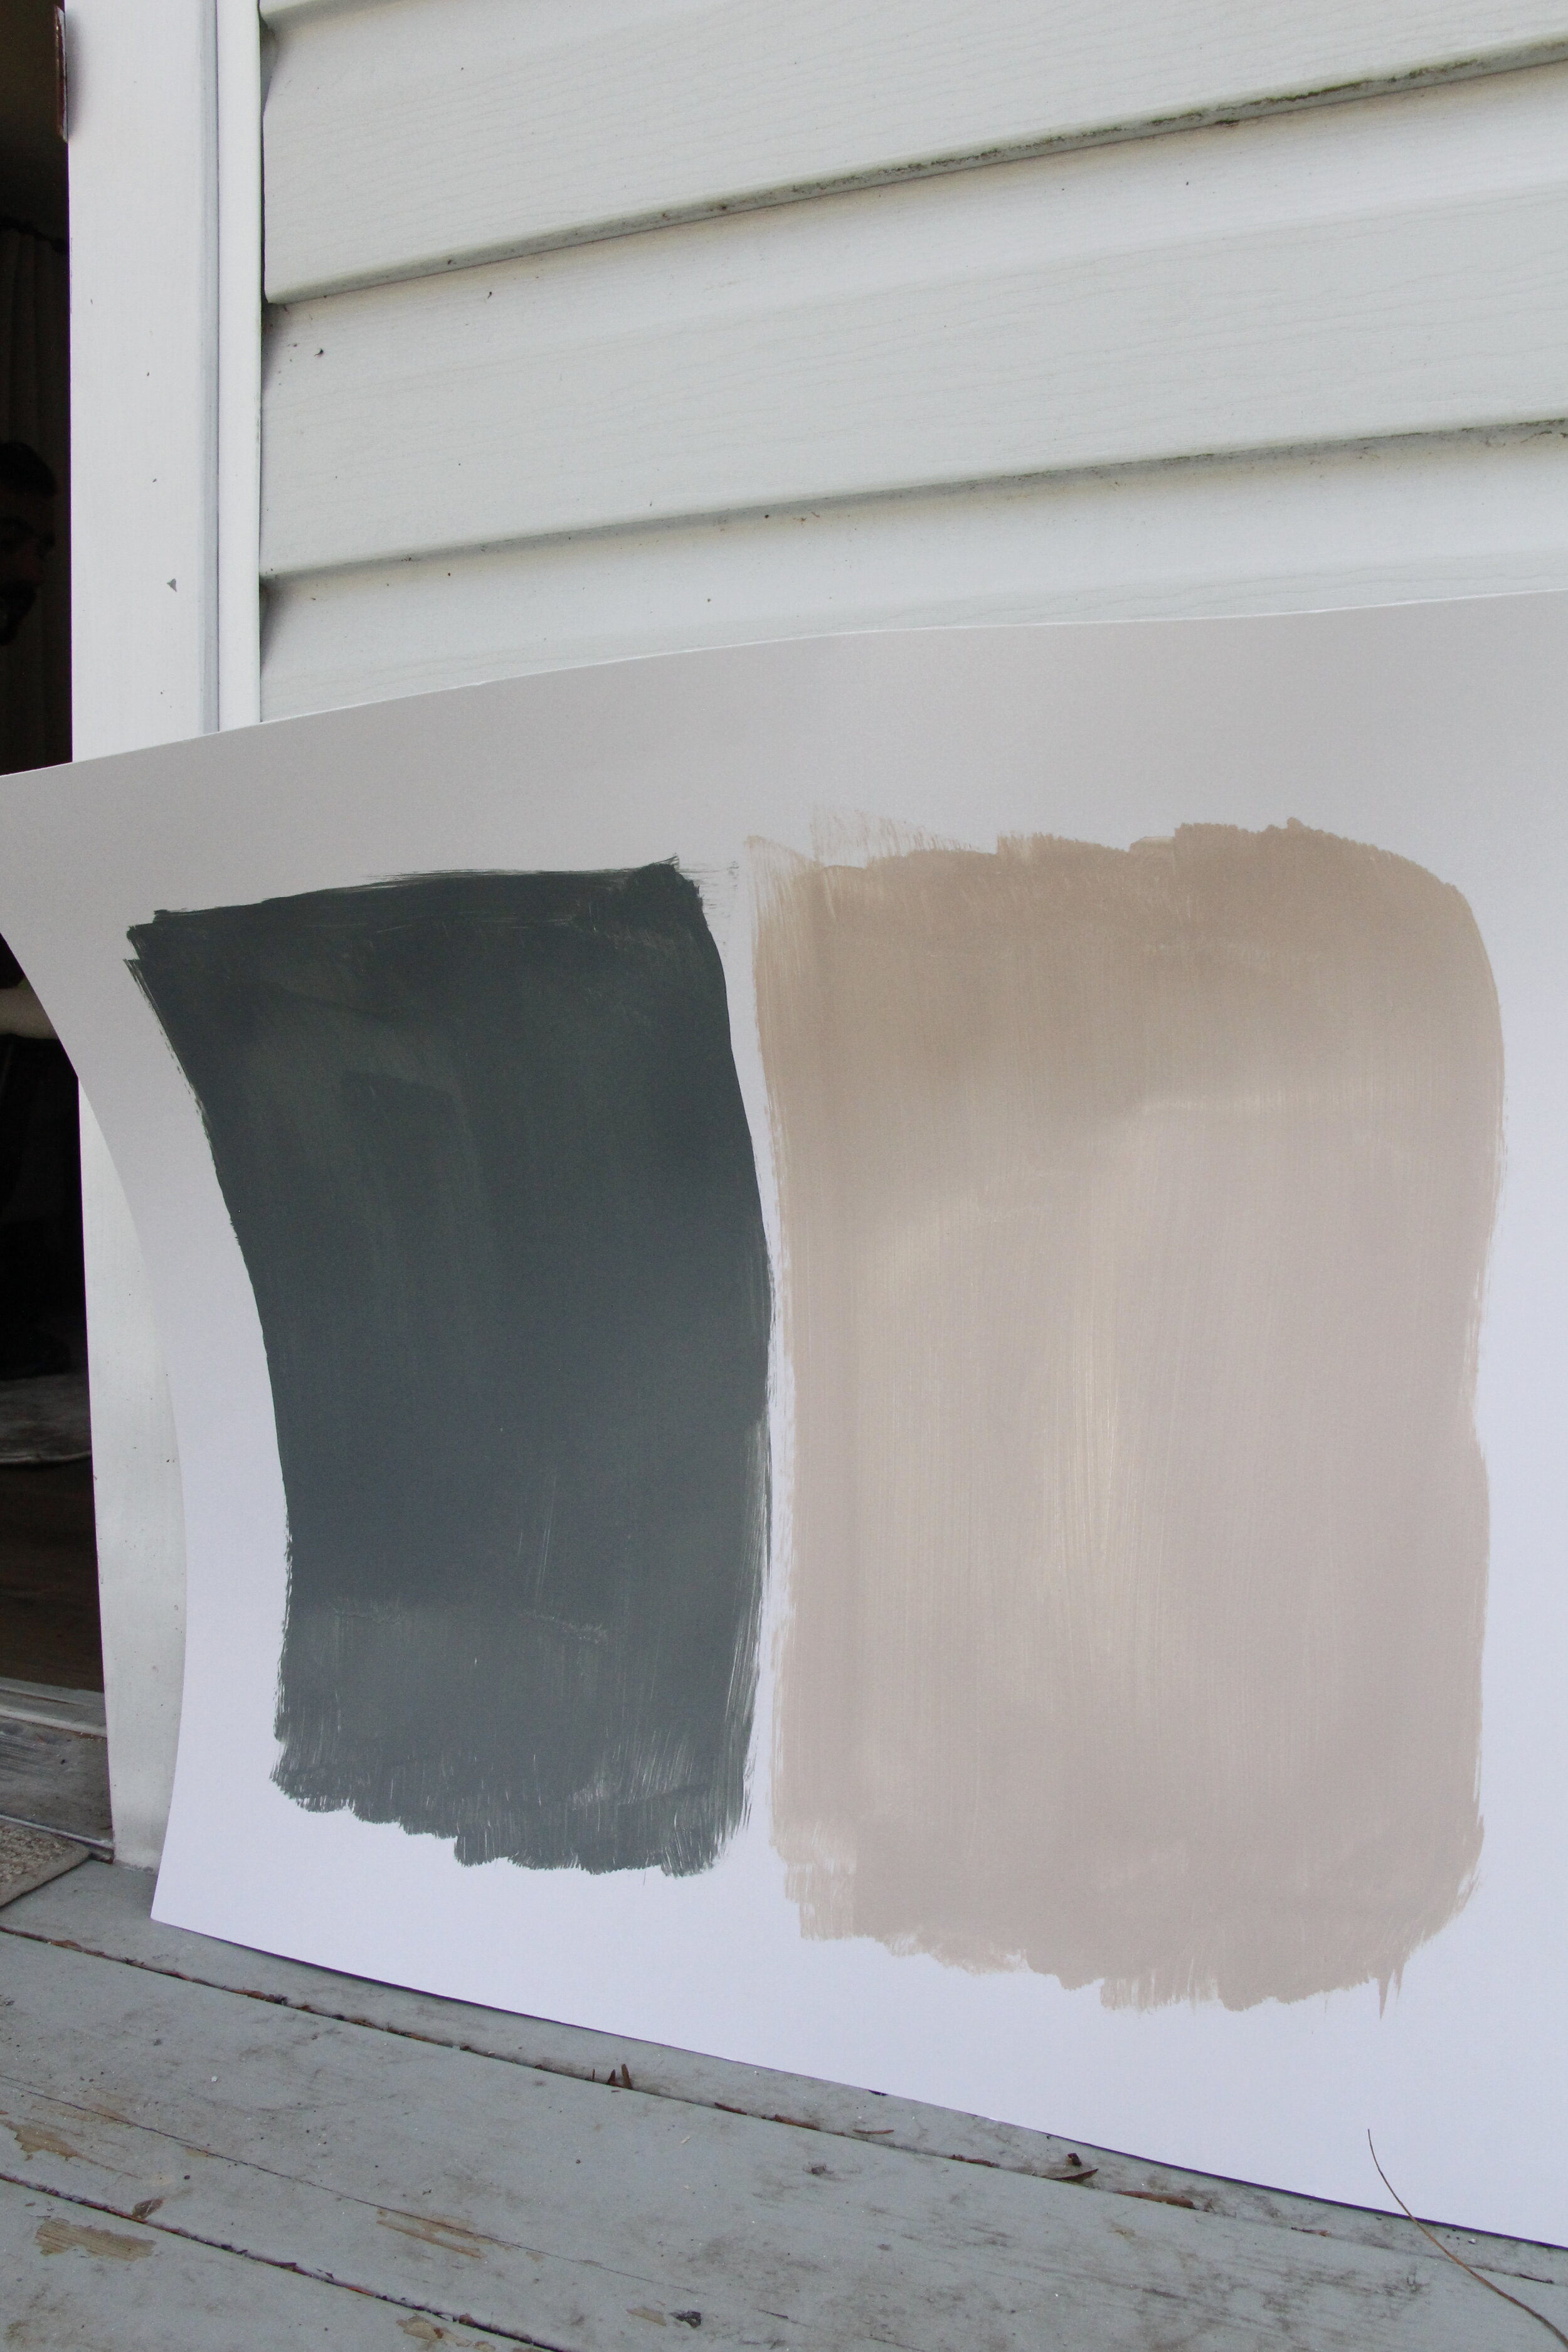
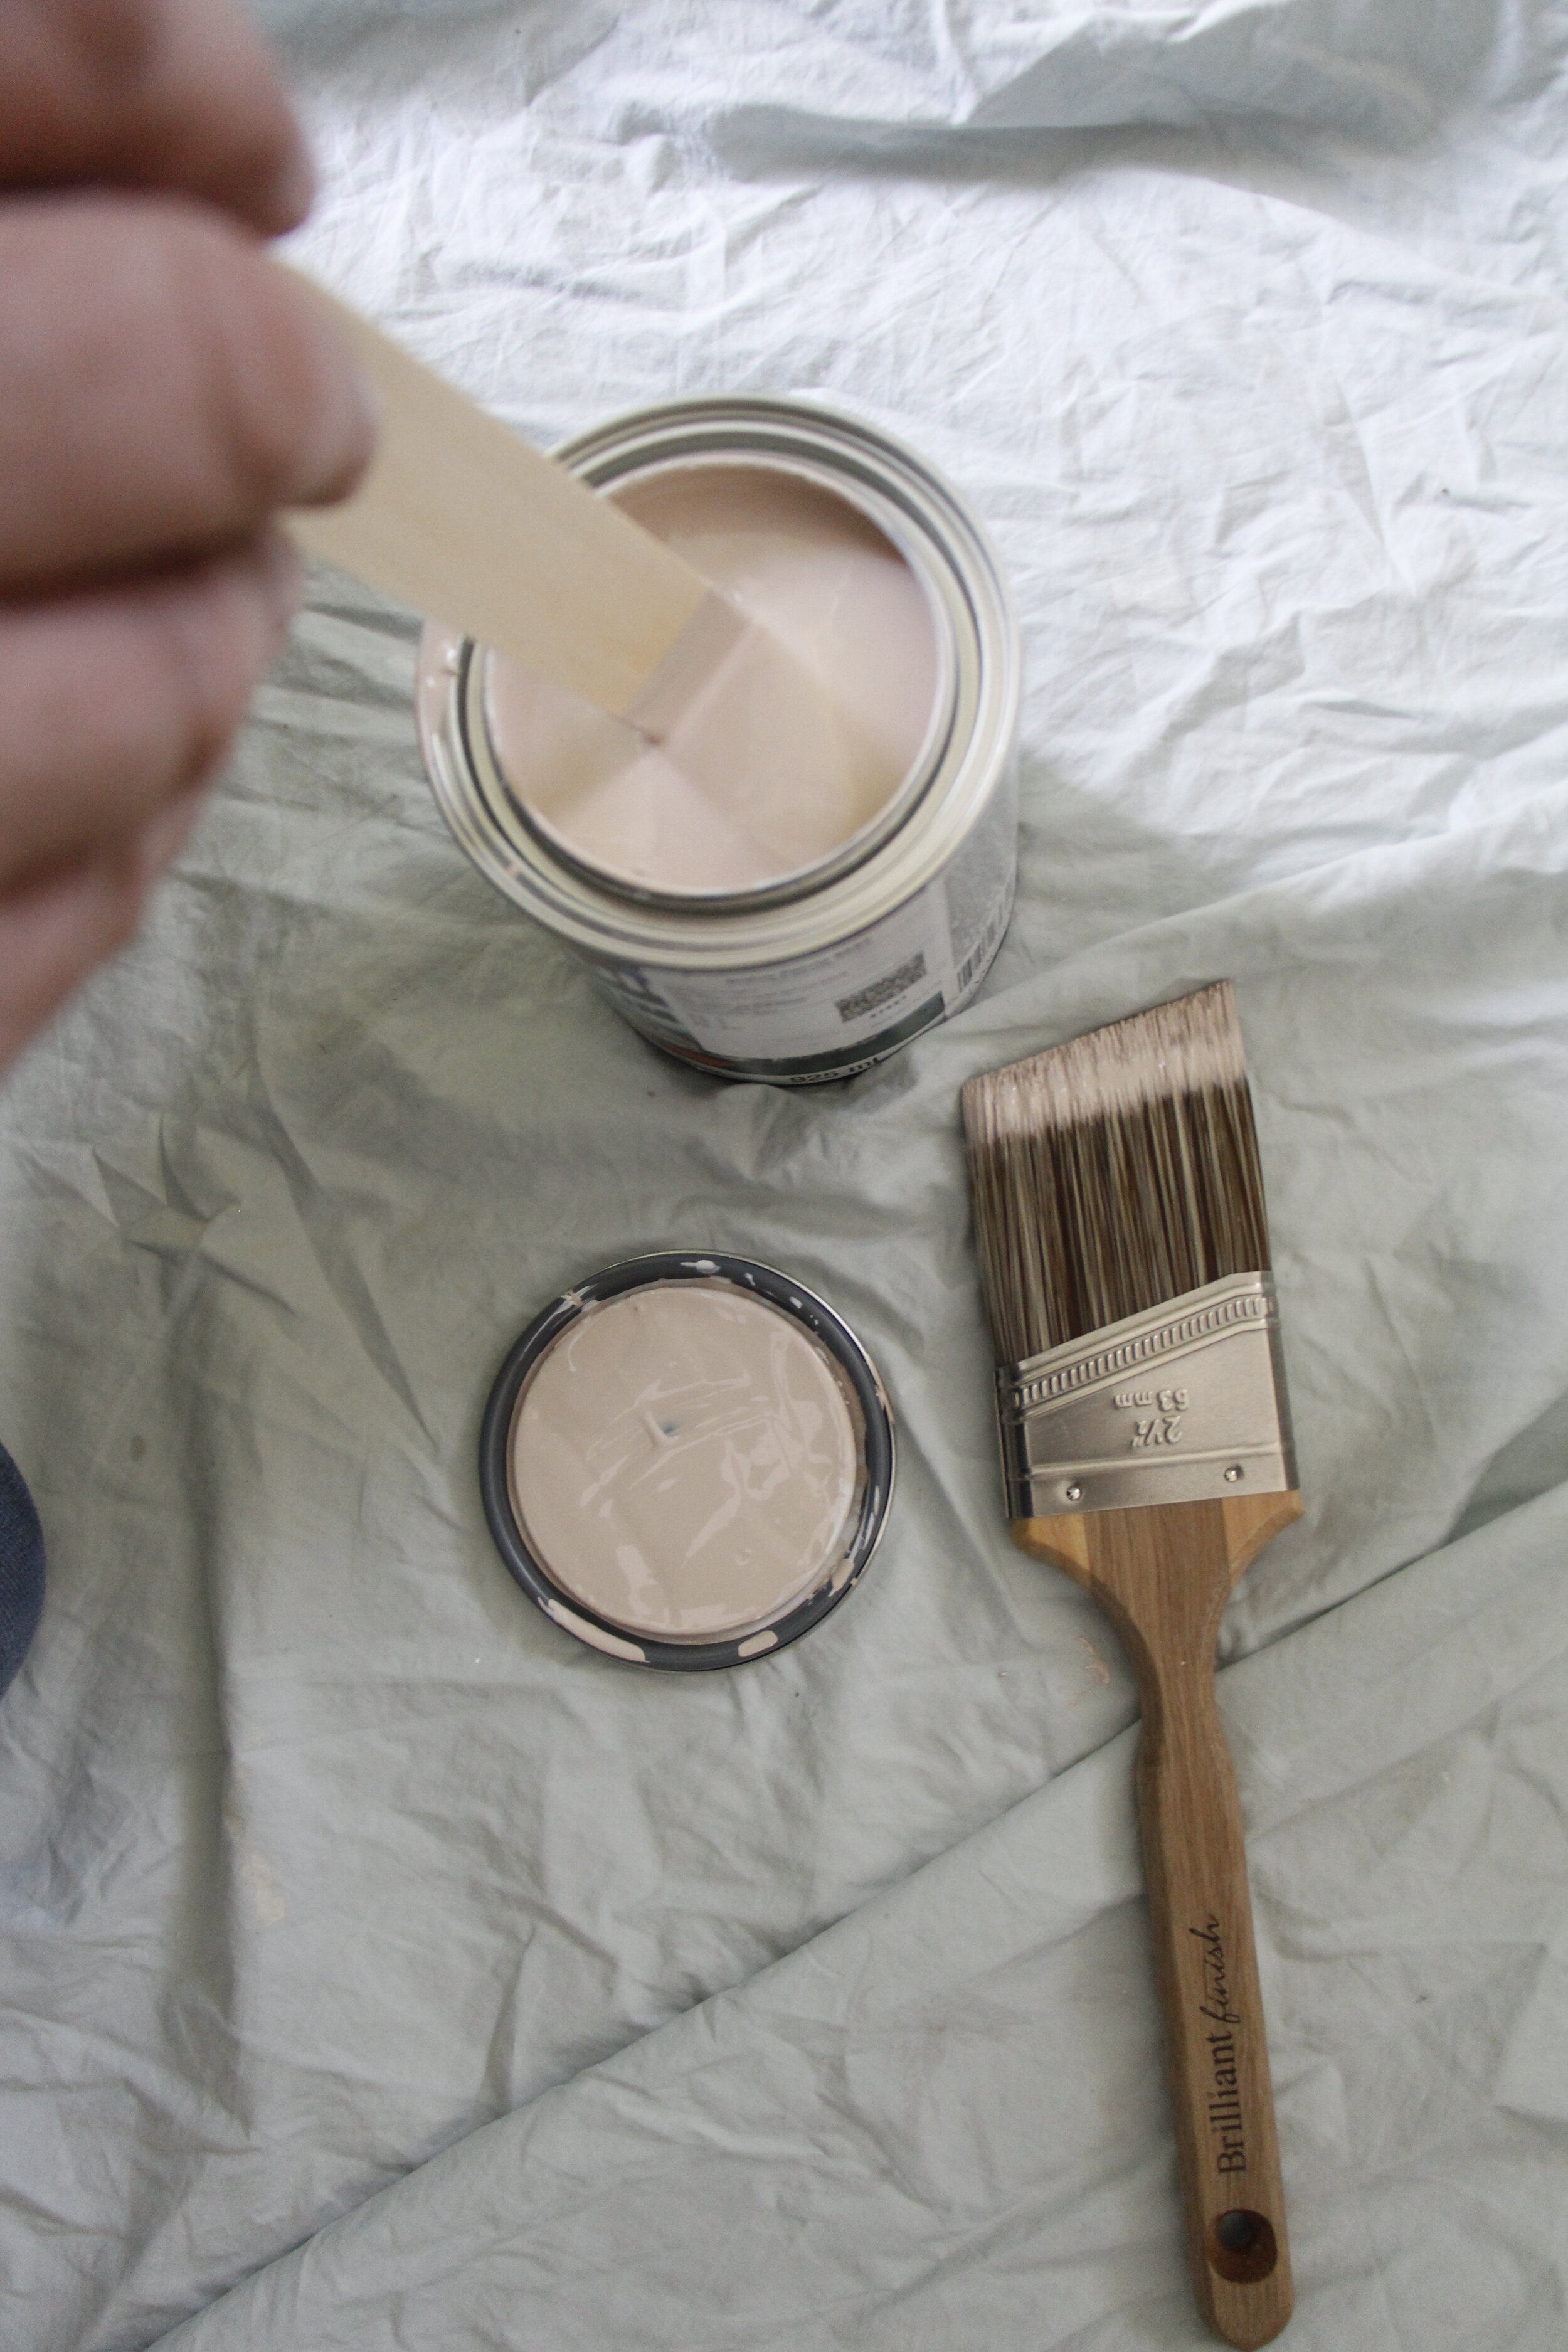
We made sure to use Dulux weatherguard paint in a satin finish. This is perfect for exterior doors because it is water proof and is guaranteed to stand different types of weather. I was torn between two colours. I LOVED both of these tones. One of the paint colours was called Phantom which was a beautiful blue grey colour. I loved the richness and depth of this colour. It looked timeless and classic and complimented the colour of the siding. The second colour was called Pueblo it is a beautiful creamy nude colour with a hint of pink. I loved how natural and beautiful this colour was.
In order to choose what colour I liked the best, I opened both cans and painted both of the shades beside each other on a piece of Bristol board. I love to do this for a lot of my projects to really see the tones once they are dry, this is also great when you are painting something outdoors because it makes it easier to see the tones in different lights.
In the end I decided on Pueblo. I think that the blue would have been too much of the same tone for the front patio and I love how the nude colour brought in a new shade. I can’t wait to use more of this colour in some of my outdoor decor.
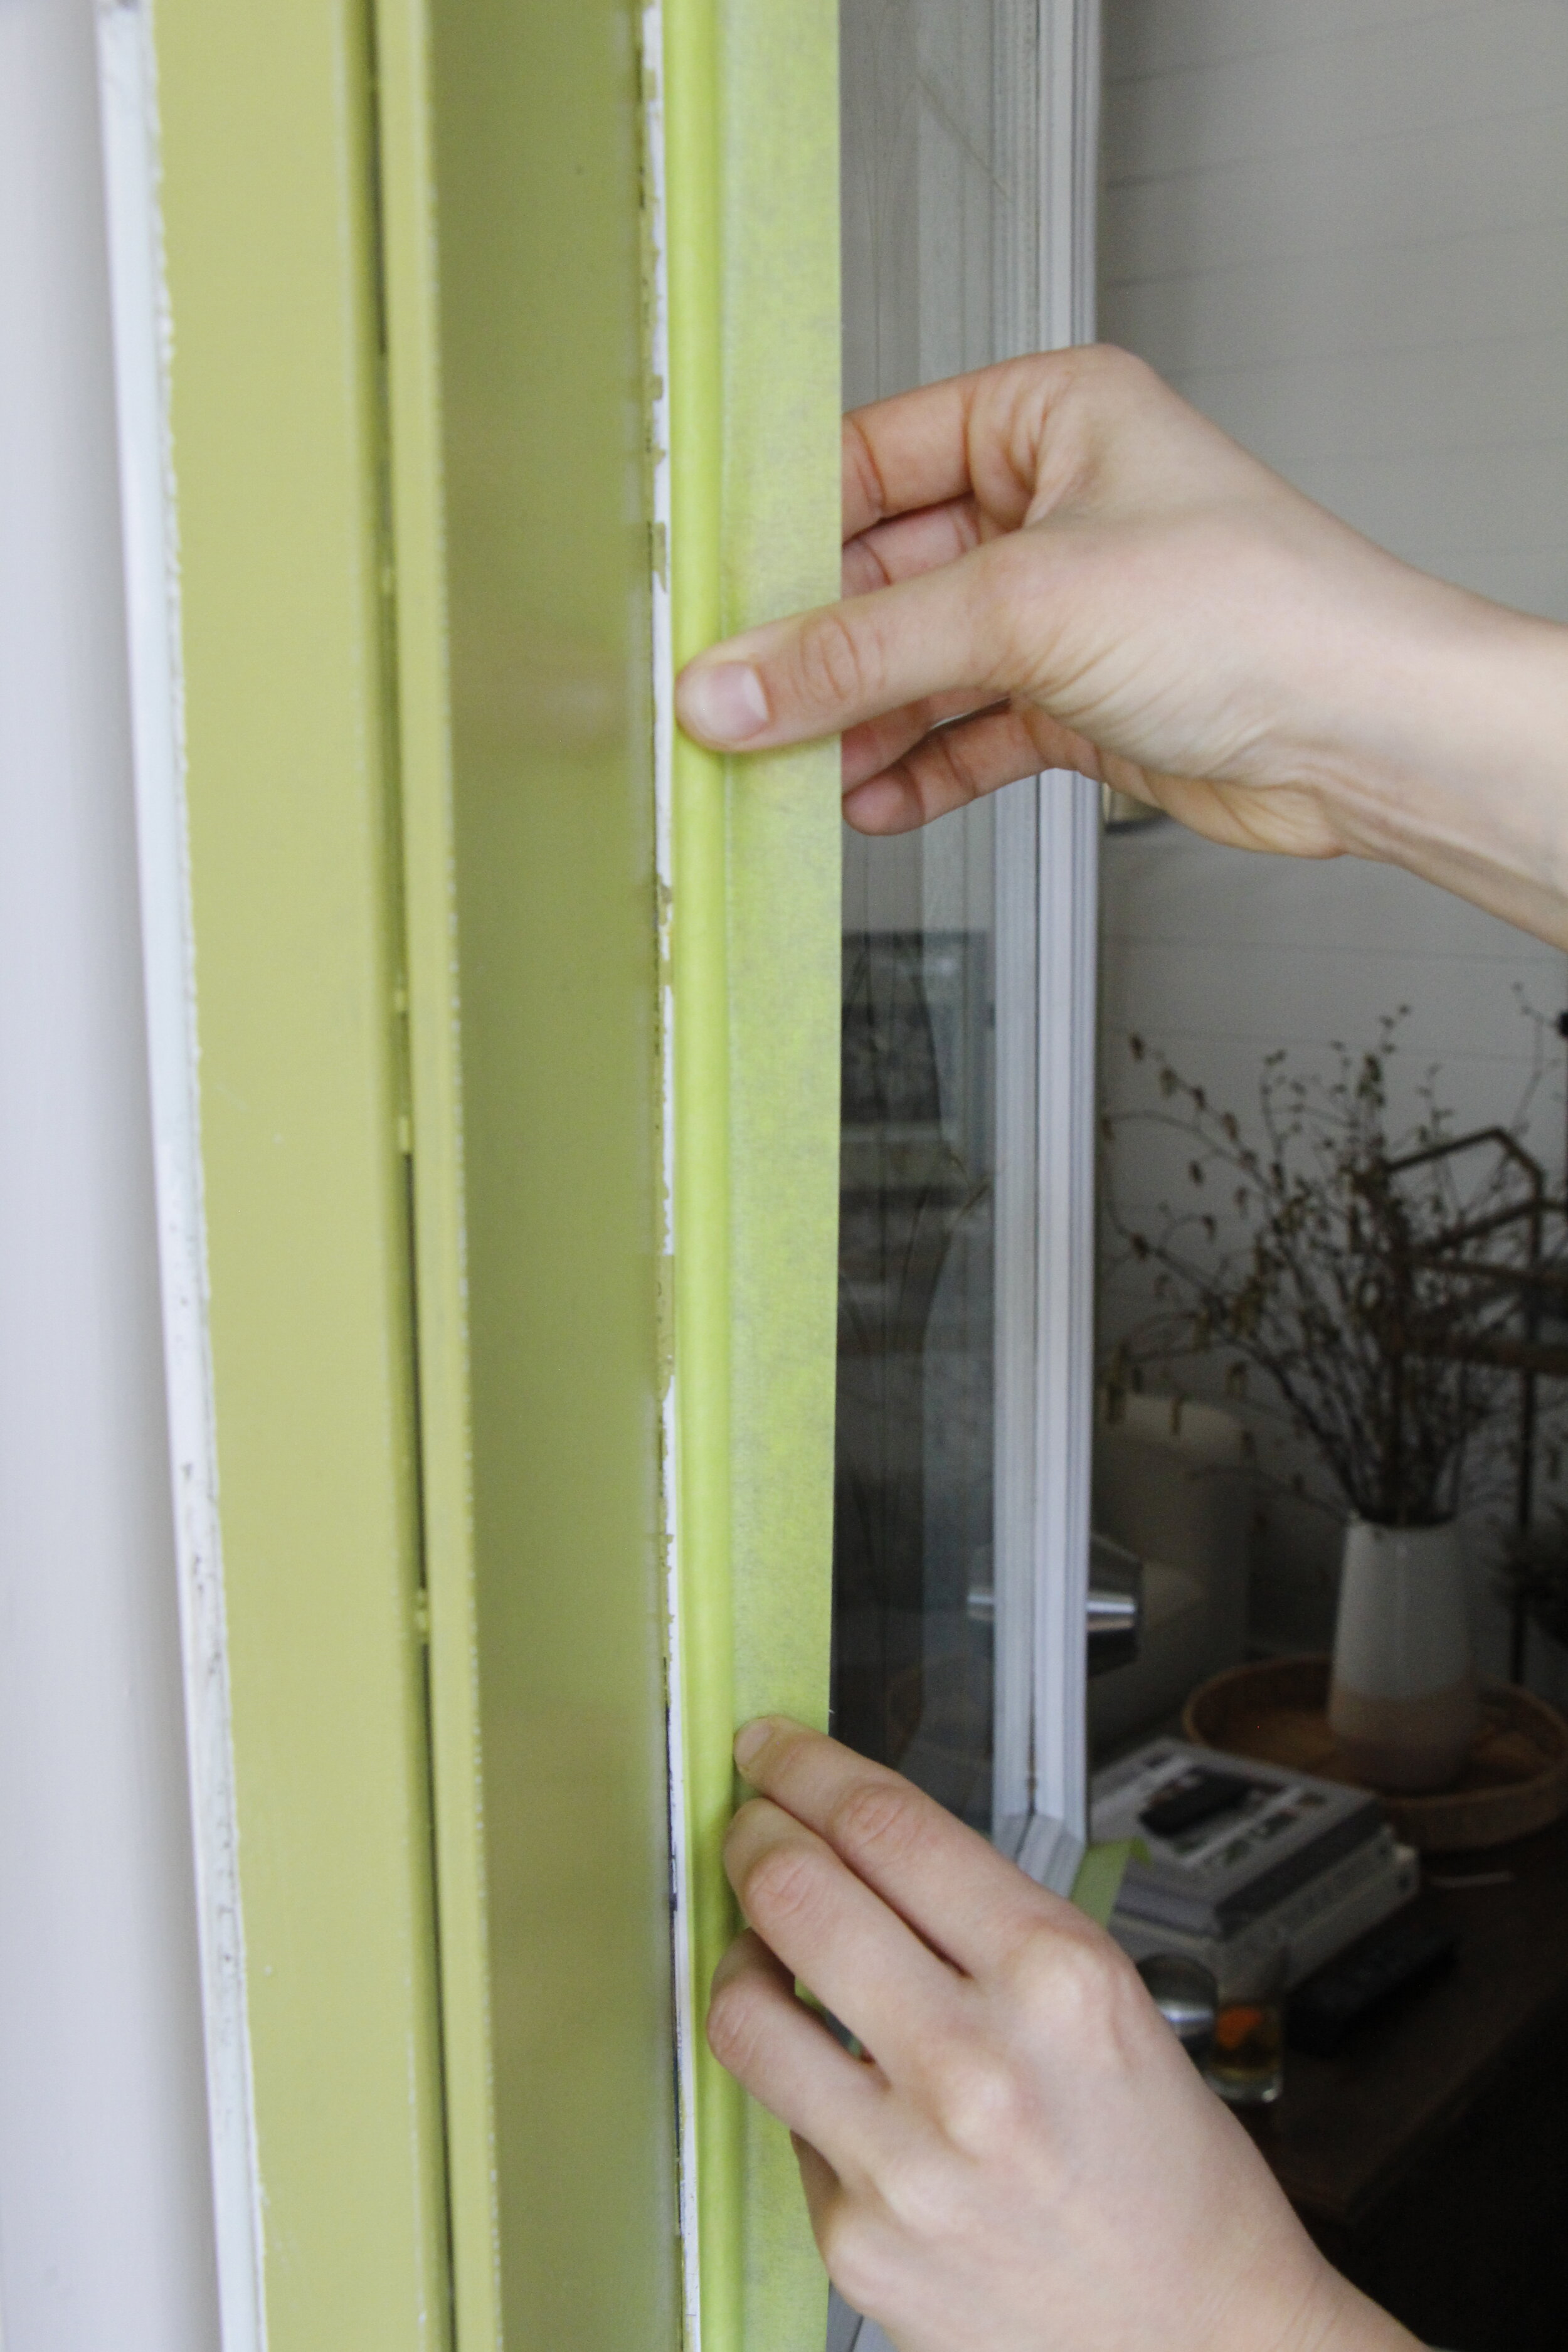
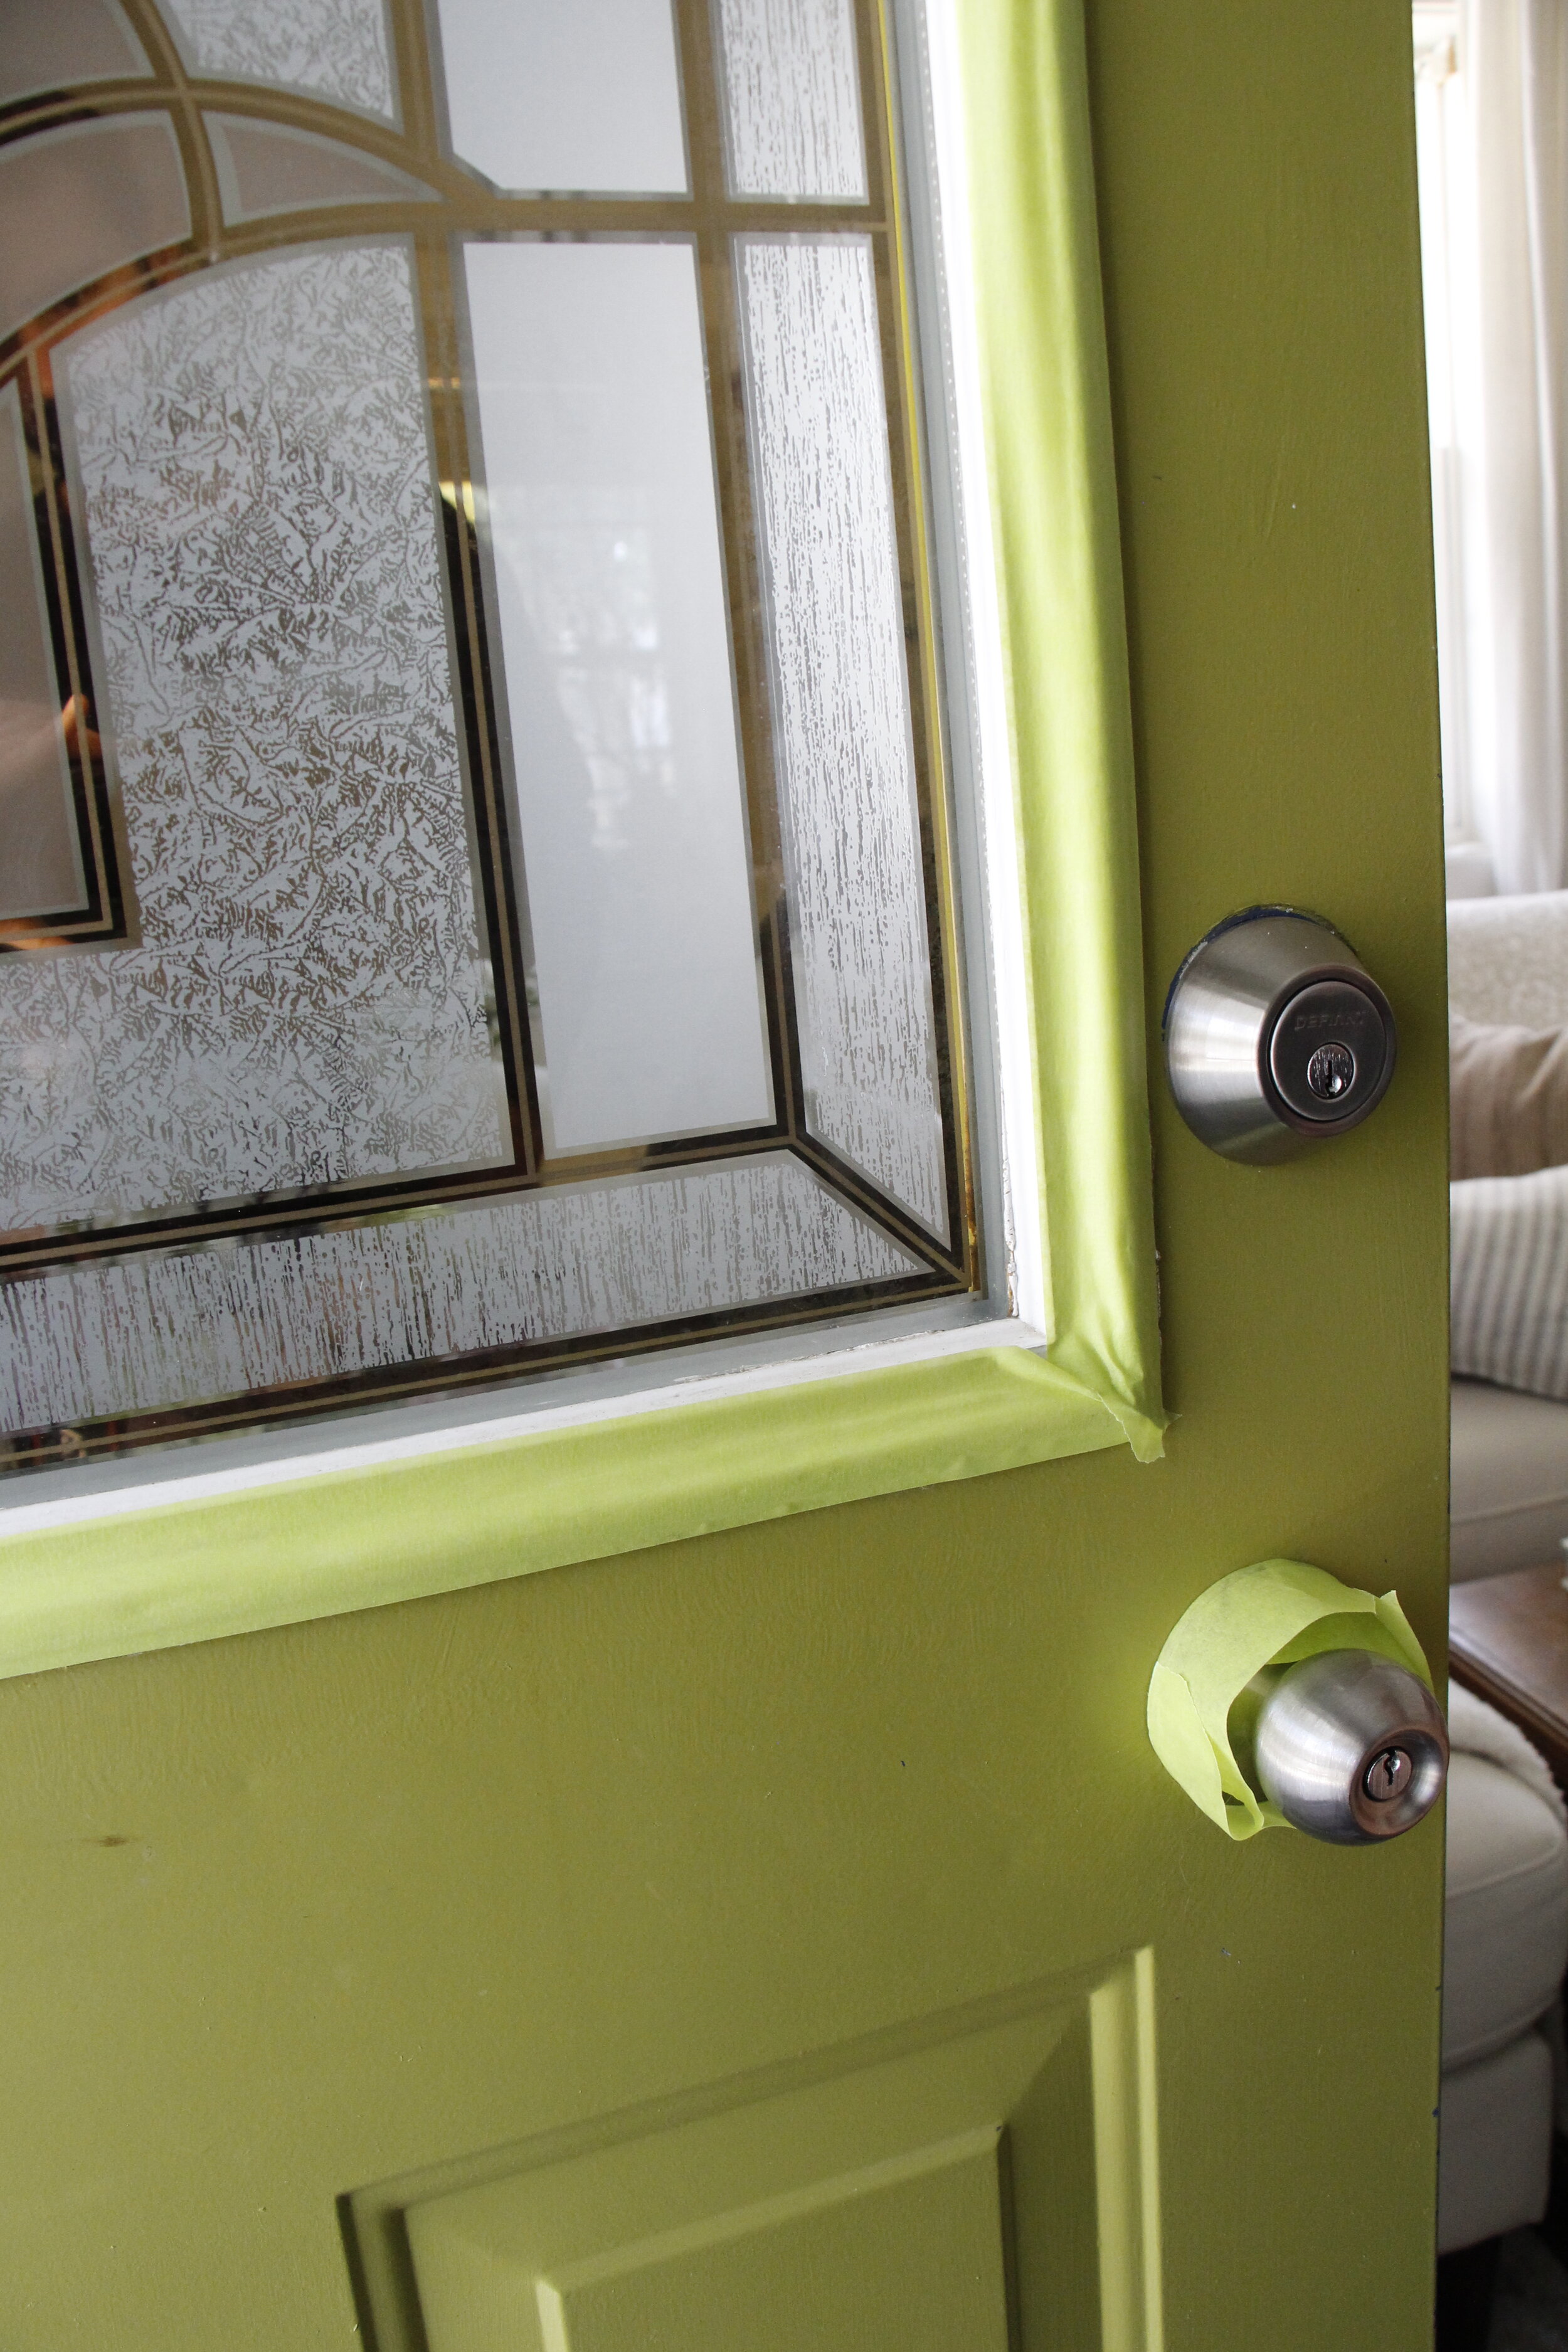
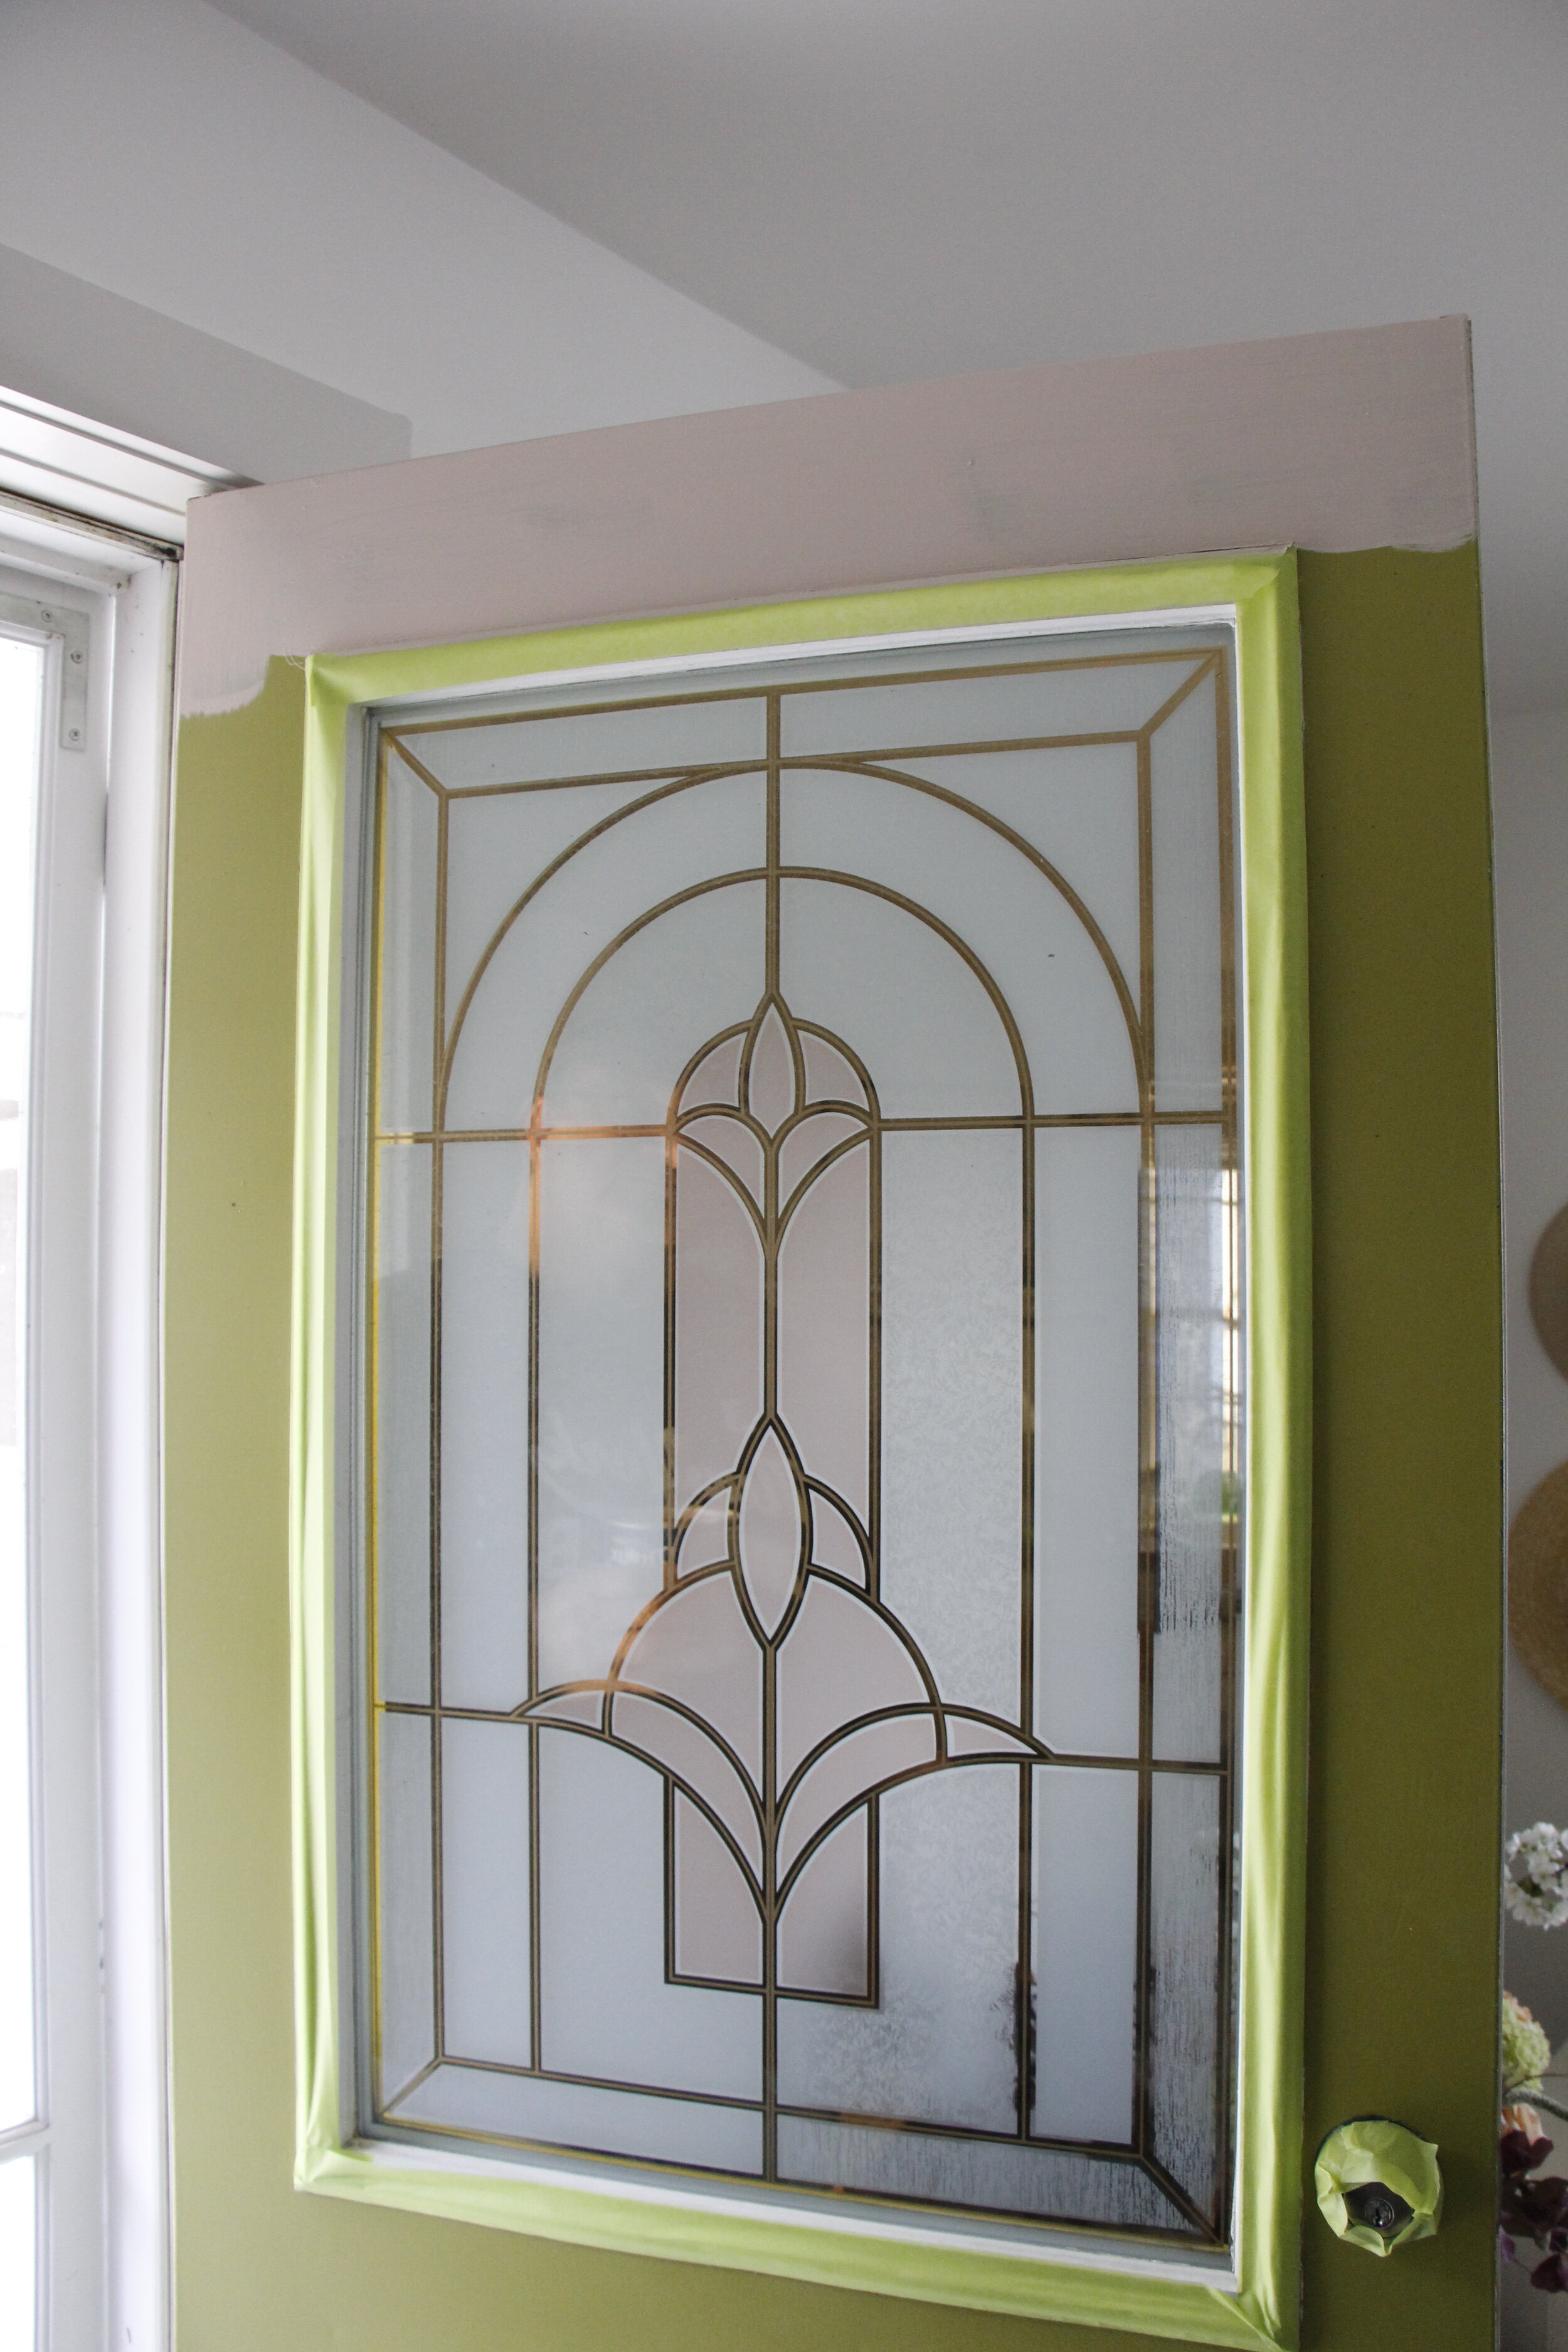
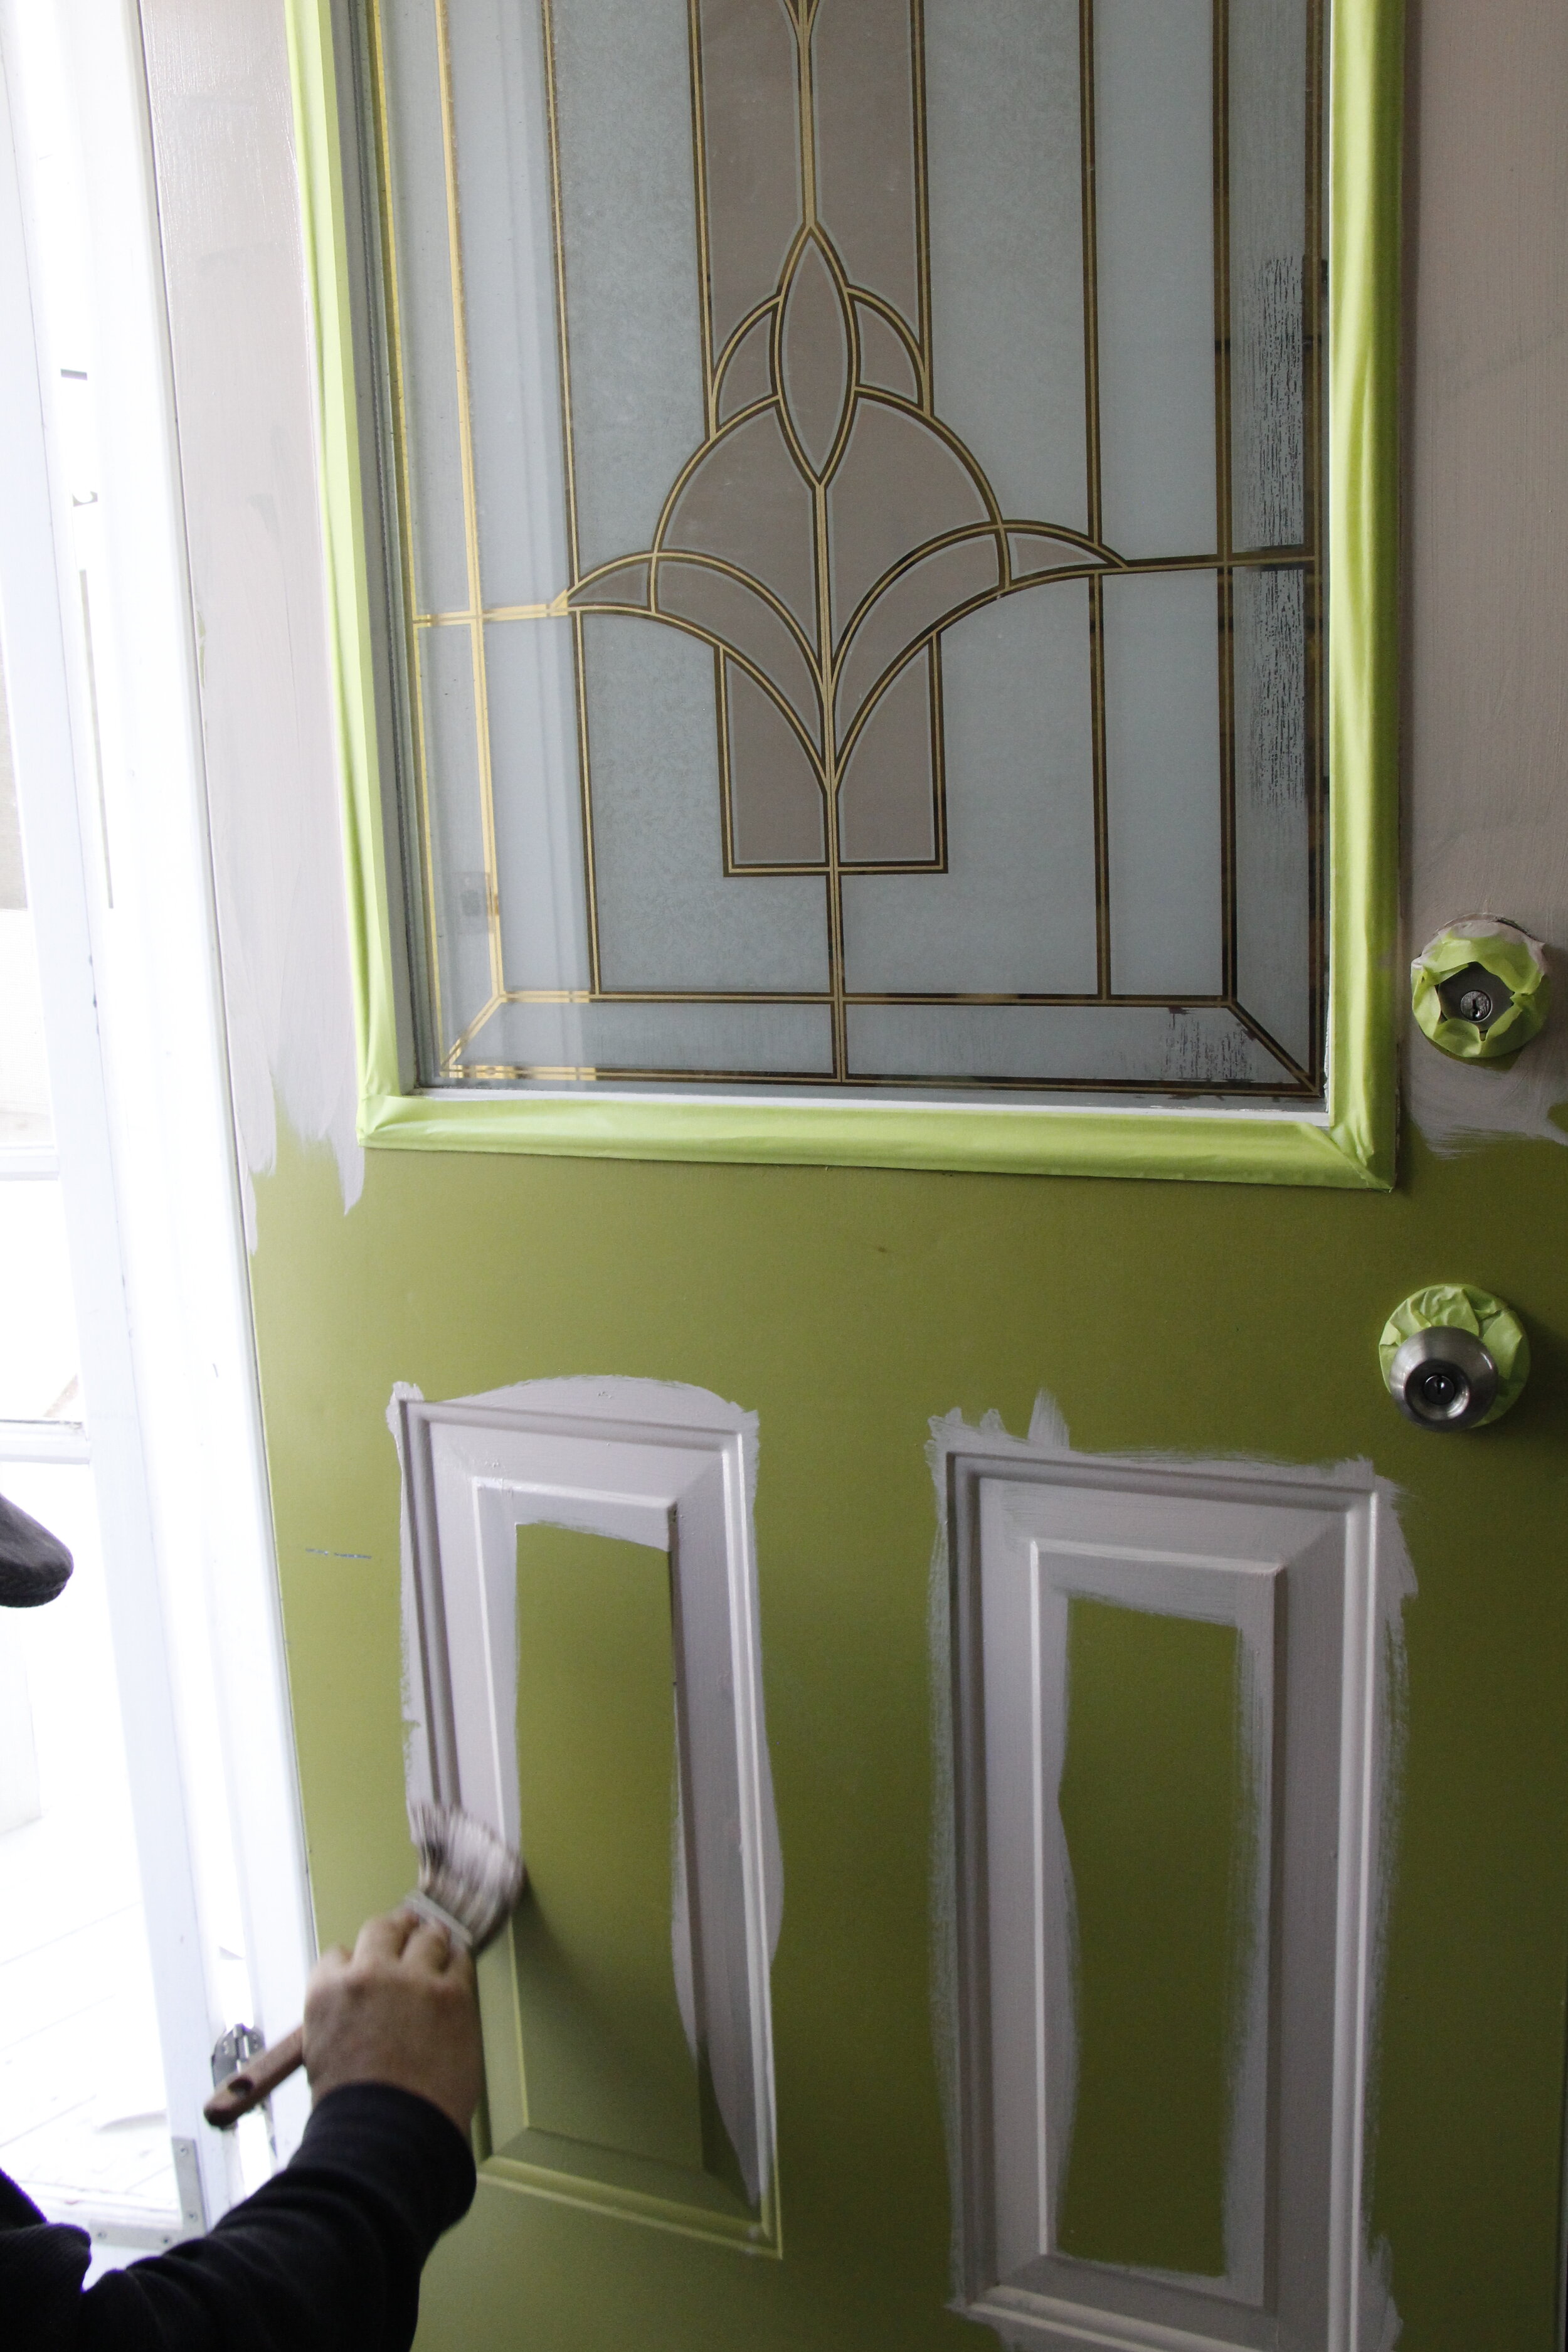
Before we started to paint I made sure to tape everything. I kept the white trim around the door and added the green Scotch painters’ tape to all of the trim work around the window, the locks and the door handle. This always is the first step that I do when painting to assure a clean look in the end.
We used the Brilliant Finish brush for this project. I did also get the Micro Pro roller and try but didn’t end up using it. Next, we stirred up the paint before applying to the door.
We started from the top and made our way down. We made sure to keep everything neat and clean as we went. When painting the bottom of the door we made sure to paint the trim parts first and then filled in the rest. After one coat was done we had to wait 4 hours to apply the second coat. Once complete and dry we took off all of the tape and admired the brand-new shade.
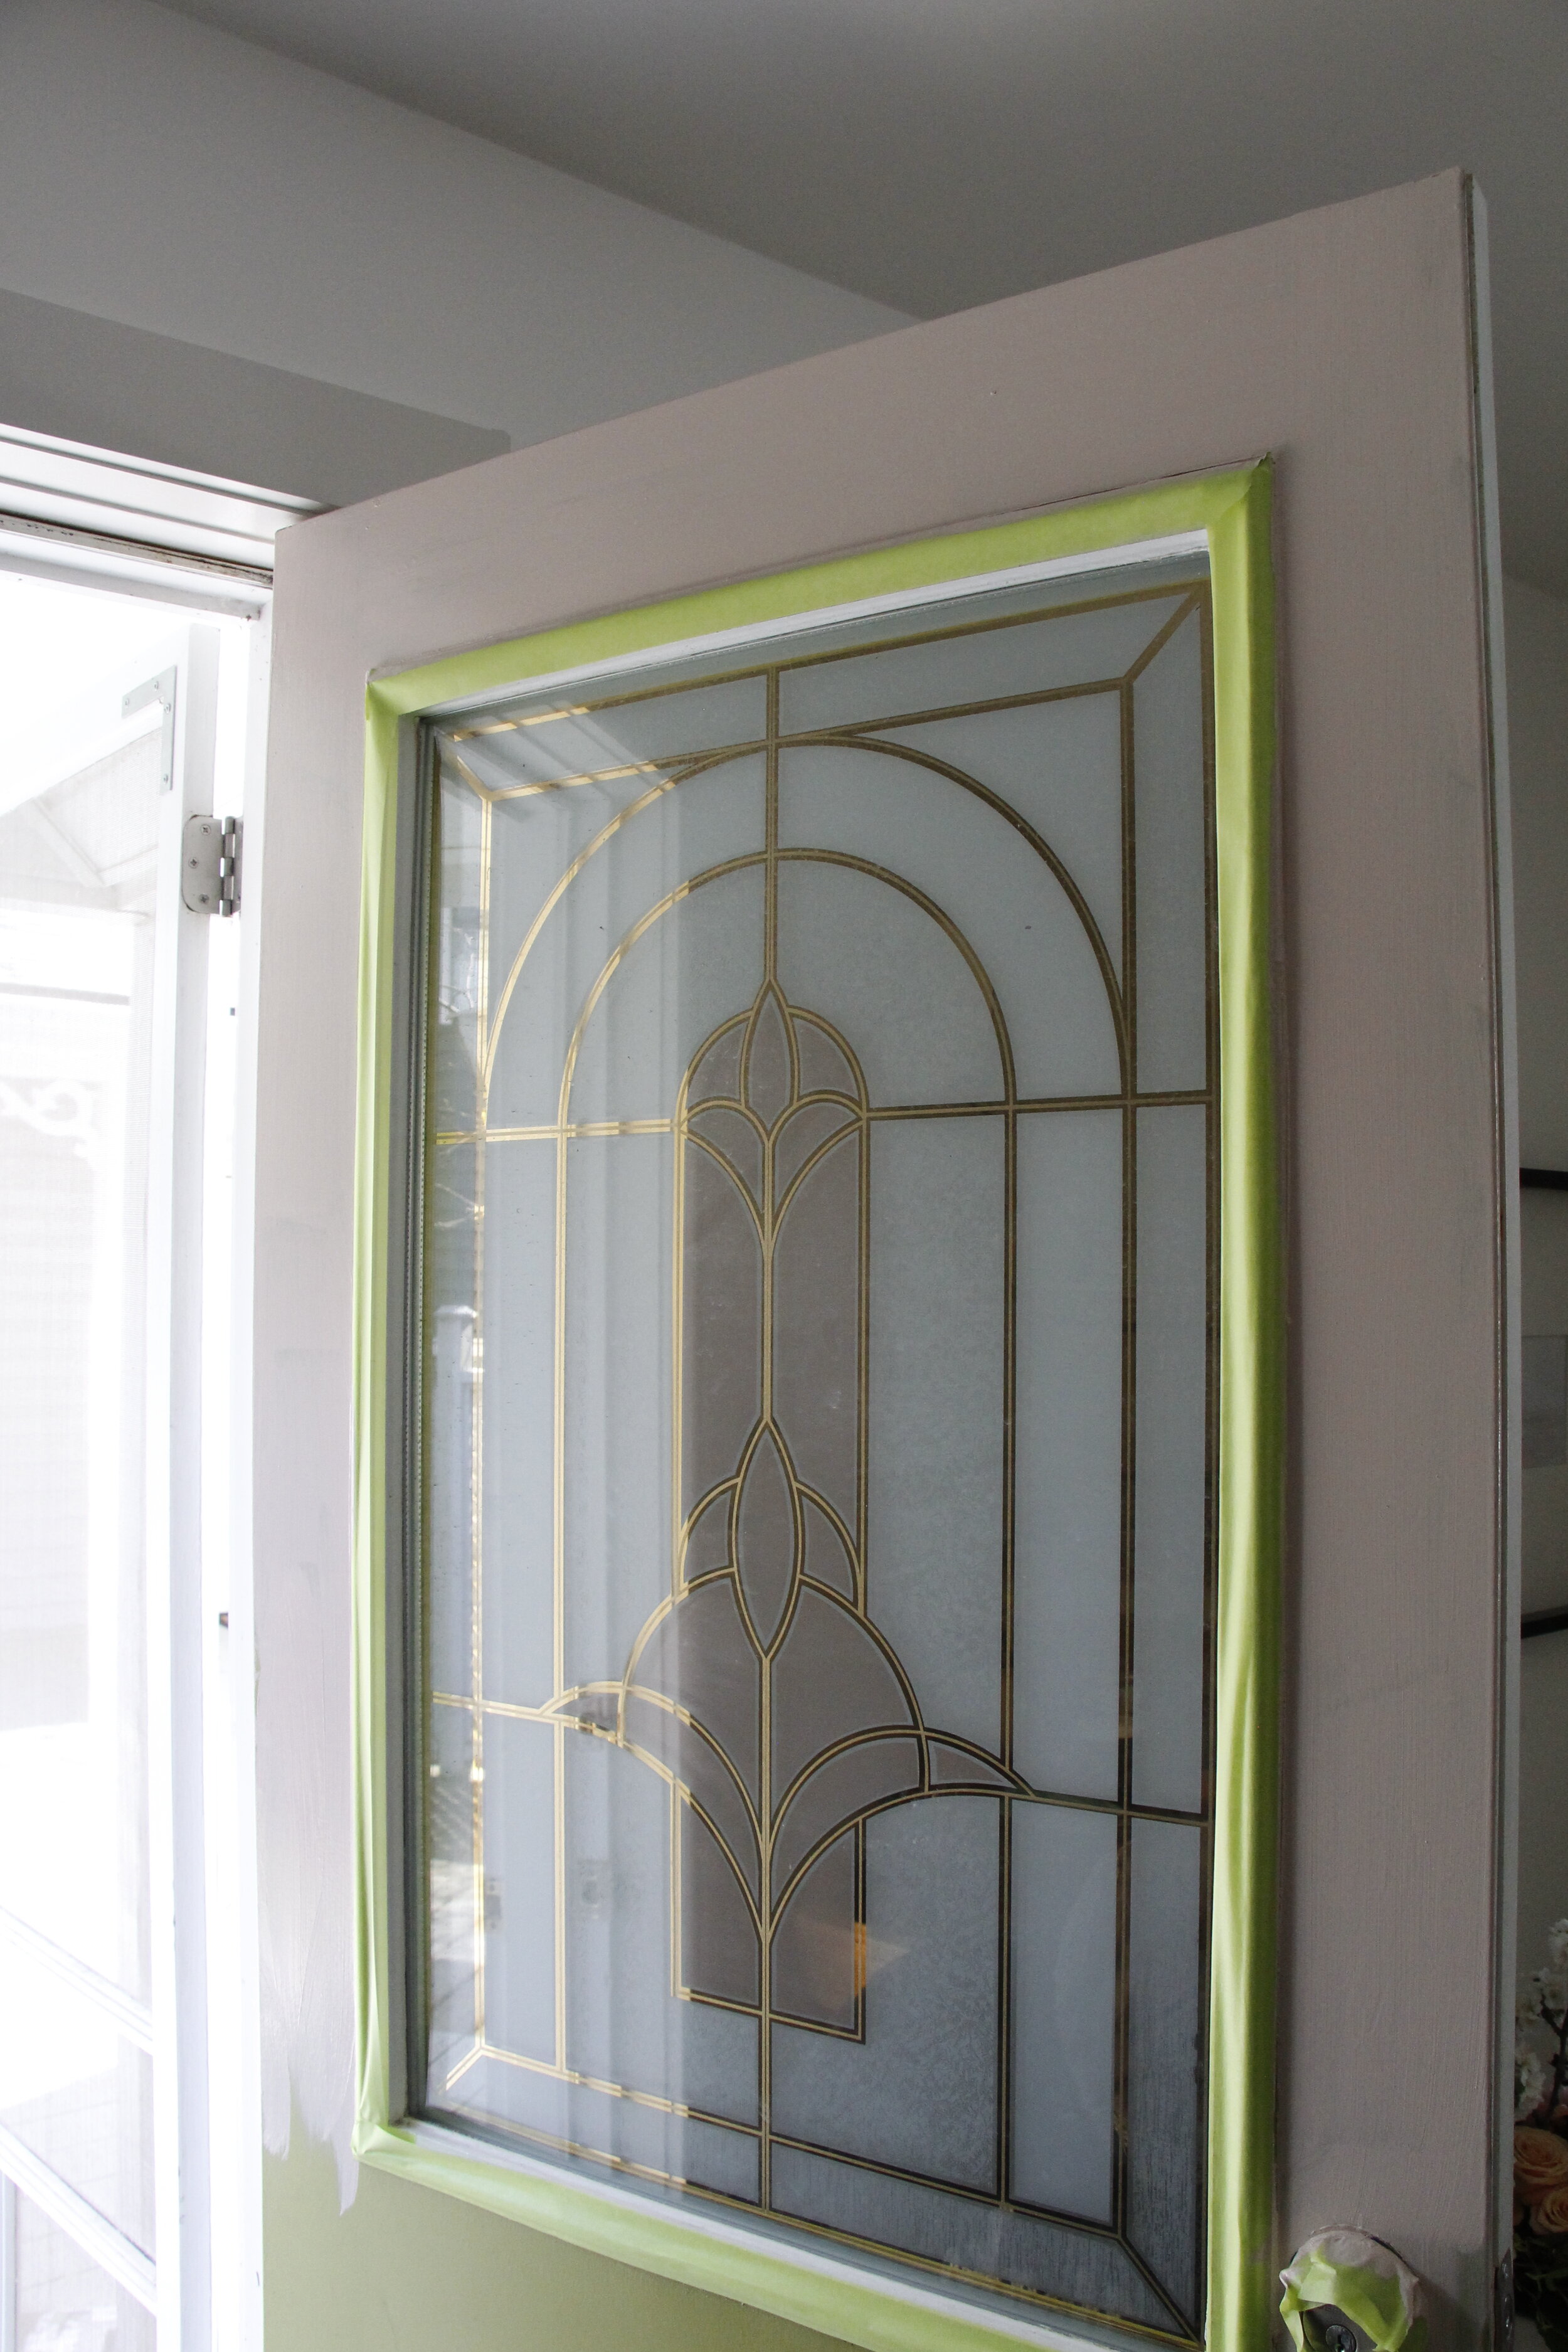
I absolutely love the way that this door turned out. I loved how simple and easy this was to achieve. My door has a completely new look! Not only does it look beautiful outside, it also looks gorgeous when you open the door and see the colour with the items and decor in the living room
Thank-you CAA and Dulux for this wonderful spring refresh!

I hope this inspired you to makeover your front door
Until next time,
Marcy, xo